REVVING UP™ – SUSPENSION WORK
SYNOPSIS:
Maximizing performance requires a lot of attention to detail when it comes to the suspension. That’s why we place a considerable focus here in Revving Up™ Episode 3.
Jump in to see Galuska and Goodson remove the existing suspension system of the 350Z to make room for new coilovers, traction bars, camber arms, and front adjustable upper control arms.
DIDN’T MEAN TO LEAVE YOU IN SUSPENSE
Whether you are new to this series or have been patiently waiting since last week, you’ve come to the right place if you want to learn how fun and cost-effective it is to take on a project car.
In our case, we designated a strict $25,000 “all-in” budget to build a 2003 Nissan 350Z from its original design into a combo daily driver and weekend track car.
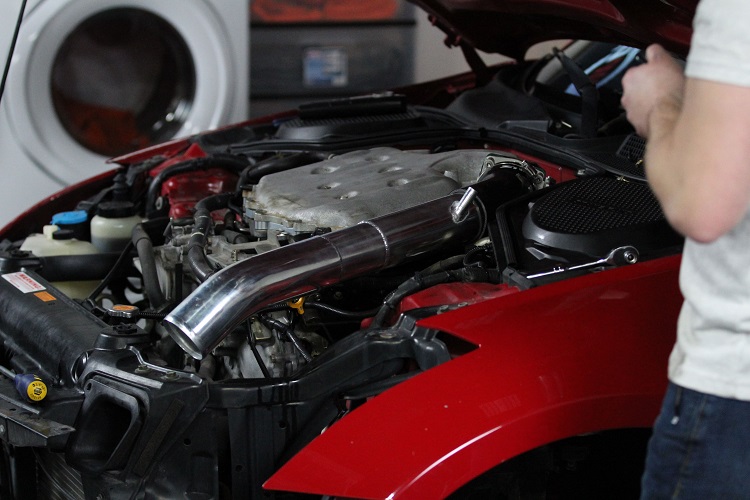
STA-BIL’s Bob Galuska and 303 Brand Manager DJ Goodson spent the previous two episodes prepping the coupe and removing OEM parts, including the throttle body, upper intake plenum, lower intake plenum, and plenum gasket. While they were at it, the pair also replaced a leaky valve cover, coil packs, spark plugs, as well as installed a new larger throttle body and a plenum spacer.
Now, our 350Z is finally ready to receive some suspension work, and that’s precisely what we will be covering here in episode 3 of Revving Up™.Opens a new window
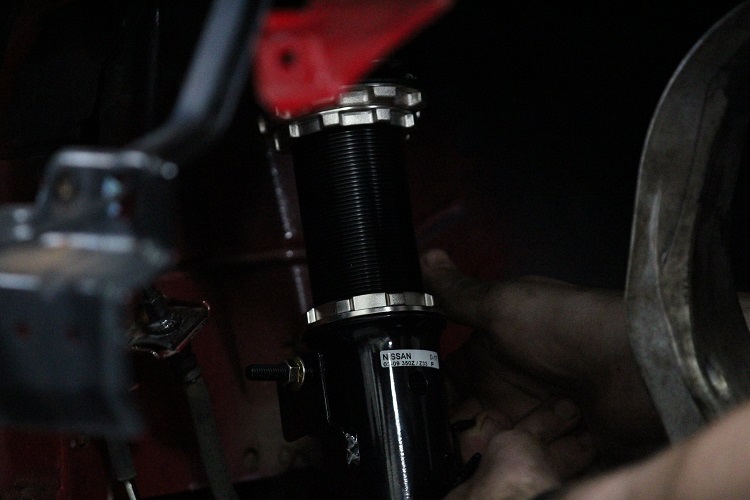
This part of the car build is significant because an adequately tuned suspension is key to absorbing bumps and maximizing handling. Therefore, Galuska and Goodson will remove the existing suspension on the 350Z to install a set of coilovers, traction bars, camber arms, and adjustable front upper control armsOpens a new window.
SO MUCH TO DO, SO LITTLE TIME
In addition to the new parts we plan to install, Galuska also made it a point to add chassis bracing and a fresh coat of paint on the brake calipers. With plenty of work to be done on the suspension, we found that it was best to hop to it to see how much we could accomplish.
As Galuska puts it, “We have a lot to do today, so it’s time we stop talking and get to work.” Getting our hands dirty is what we’re good at it anyway.
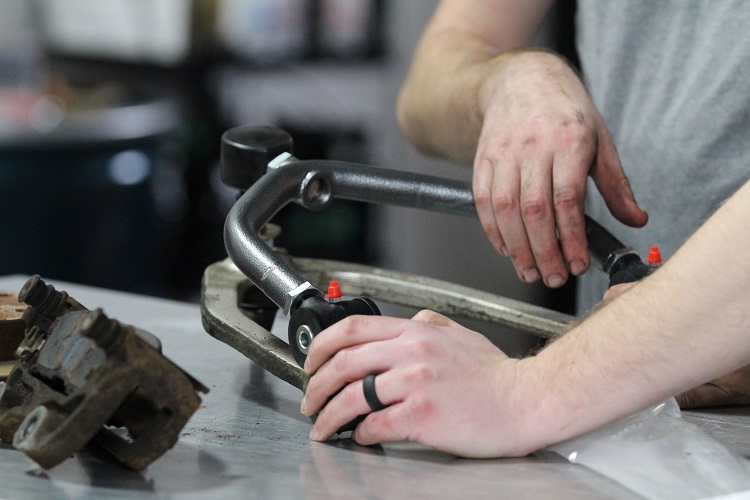
Once we got going, the first thing we noticed was that the car still had several original parts, which is surprising considering that the coupe is a 2003 model.
“Nothing has been removed or tampered with since the car was built,” says Galuska. “Which means bolts are rusty and difficult to take apart.” In a few cases, some bolts were either rounded or completely stripped, an unforeseen obstacle that will undoubtedly add more time to the build.
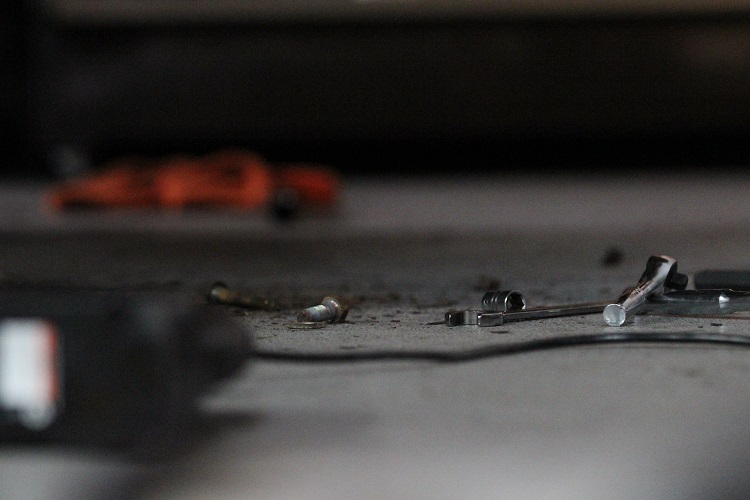
“We are currently slightly behind the timeline we liked to hit,” says Galuska. “We planned to be able to paint the calipers and get the brakes and rotors on… But because of all the problems we had with the bolts, some of that work is going to have to wait.”
In order to stick as close to the timeline as possible, Goodson stepped in to assist Galuska with the rusty bolts by using a jack handle. Combining the jack handle with a ratchet allows you to increase leverage to break those stubborn bolts loose.
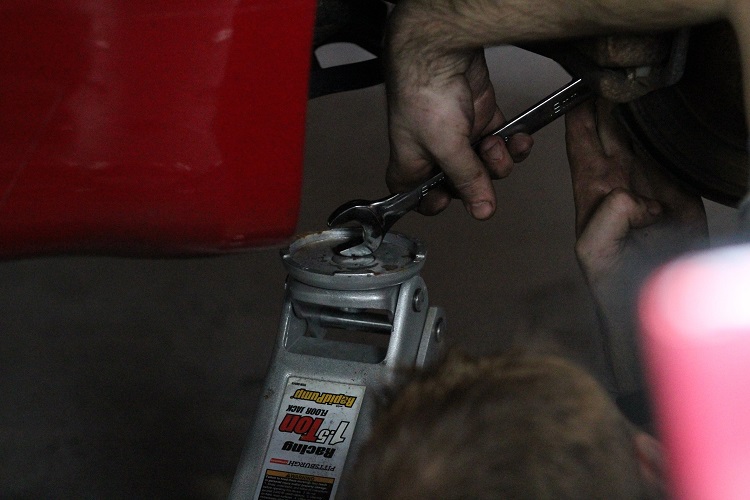
“Then we used the jack itself to increase the upward pressure on a wrench to get that bolt going,” explains Goodson. “If you have these, consider using them for this as they can really save some time.”
MORE BOLTS, MORE PROBLEMS
Much to the misfortune of the perceptive Brand Managers, more bolt problems awaited Galuska and Goodson as they made their way to the rear of the 2003 Nissan 350Z.
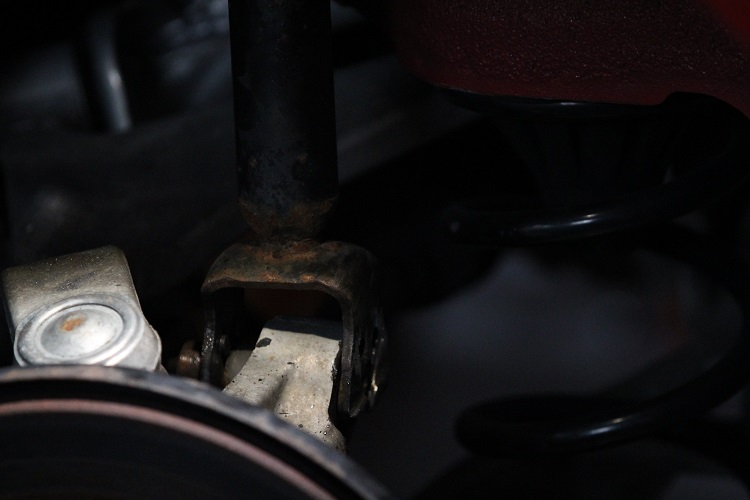
“The factory strut has a threaded insert that’s tack-welded from the factory,” Goodson explains. “As we were loosening the bolt, that tack-weld broke loose… And our only option at that point was to cut the bolt so we can push it out the other side. So we ordered a replacement bolt to finish the job.”
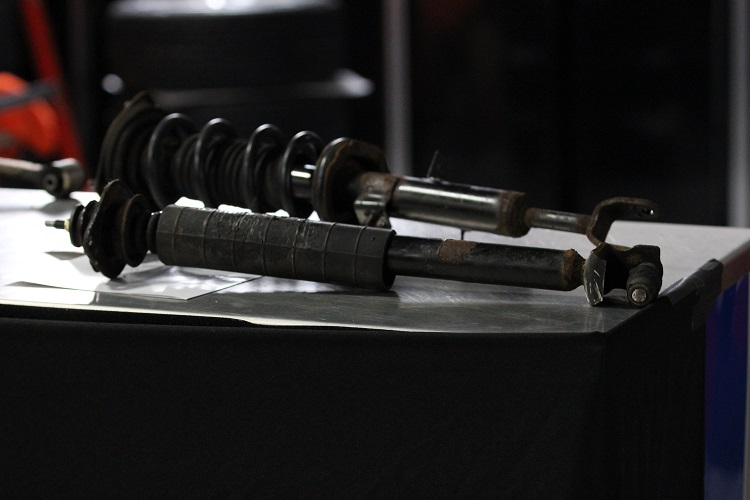
Surprises like these are almost always a guarantee when working on a project car. As a general rule of thumb, consider older models will likely come with more unexpected discoveries. For example, 2003 doesn’t seem like it was too long ago, but we still found something we weren’t anticipating.
“When we took off the brakes, we noticed that they were still the OEM brake pads from 2003,” says Galuska in a lighthearted tone. “You would have expected that a previous owner might have replaced them at least once, but here we are.”
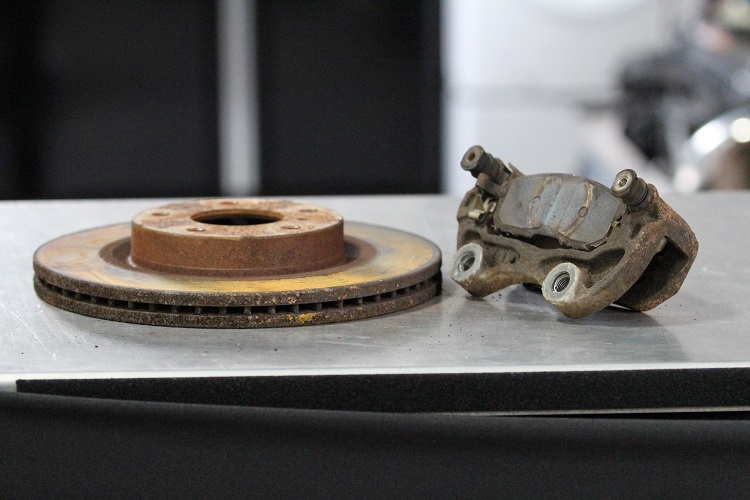
While this part of the car build is all about the suspension, we know that we will want our car to stop eventually (pretty important, right?). That’s why we removed the strut, brake caliper, brake rotor, spring coil, camber arm, and traction arm to make room for what’s coming next.
FLEXIBILITY IS YOUR FRIEND
Once we said goodbye to the old traction arm and camber arm of the car, we were now ready to place some of our new parts. It was critical to allow a little extra room to ensure that we could adapt as needed during the new install.
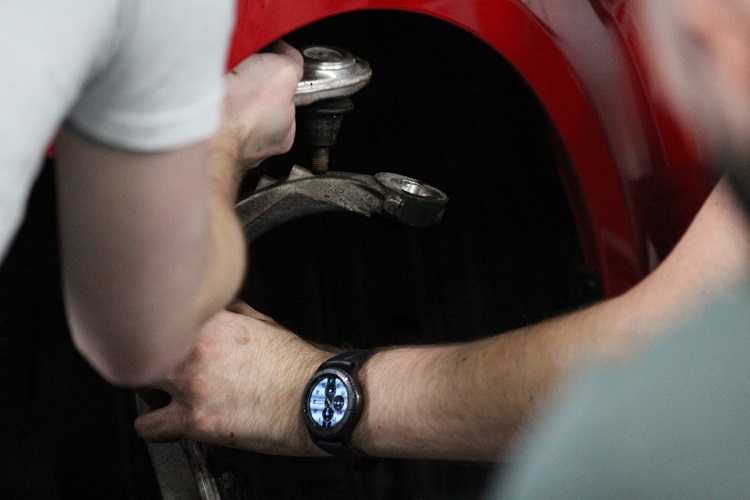
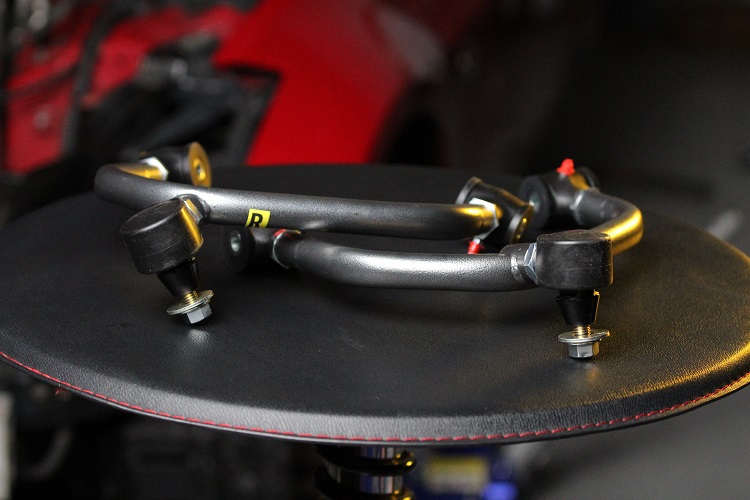
“While we had the front shocks out of the way, this was the best time for us to install our new upper control arms,” says Goodson. “It is best that we have as much adjustability as possible to make sure our alignment stays in check. These control arms give us both caster and camber adjustability so that we can fine-tune everything in our front suspension.”
To perform this work, we used the following essential tools:
- 9/16 socket
- Ratchet
- Large adjustable wrench
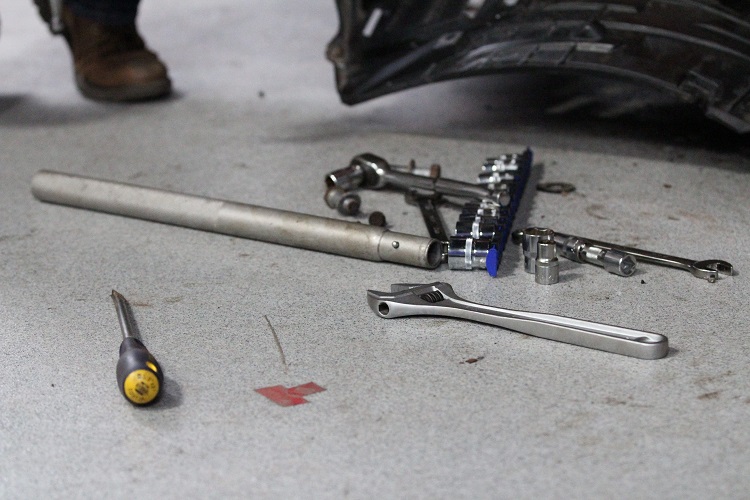
Keeping the older parts of the vehicle close to us was crucial in ensuring that the new camber armsOpens a new window and traction arms would fit perfectly in place once installed.
“It gave us a good starting point now that all the adjustable suspension parts are installed,” explains Galuska. “Once we start driving it, we’ll have to bring it into a professional shop to get the car aligned.”
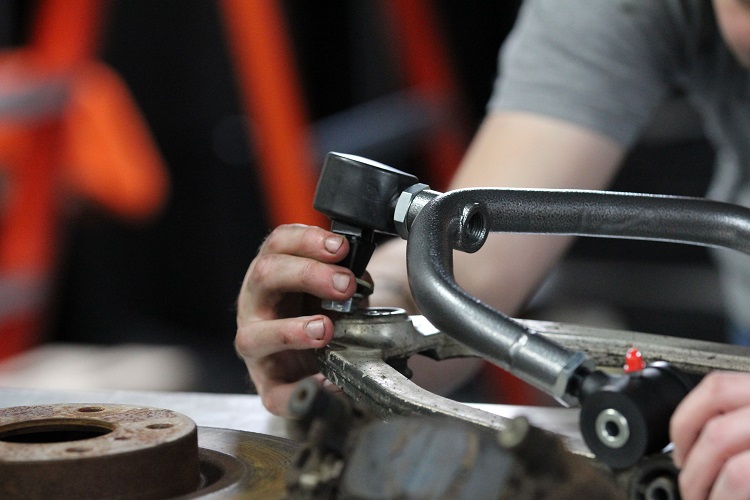
While we are incredibly passionate and knowledgeable in what we do, we also have big plans to put the performance of our 350Z to the test. That’s why we will eventually take it in for a proper alignment before we show you what we have planned for this coupe.
But we’ll have more on that later in the series. You’ll have to stick around to see.
WITH GREAT COILS COMES GREAT STEERING CONTROL
No, we didn’t commission Uncle Ben to share life advice with us the same way he did Peter Parker on his journey to becoming Spider-Man. We’ve been around cars long enough to know that having well-structured coiloversOpens a new window are key to improving vehicle performance.
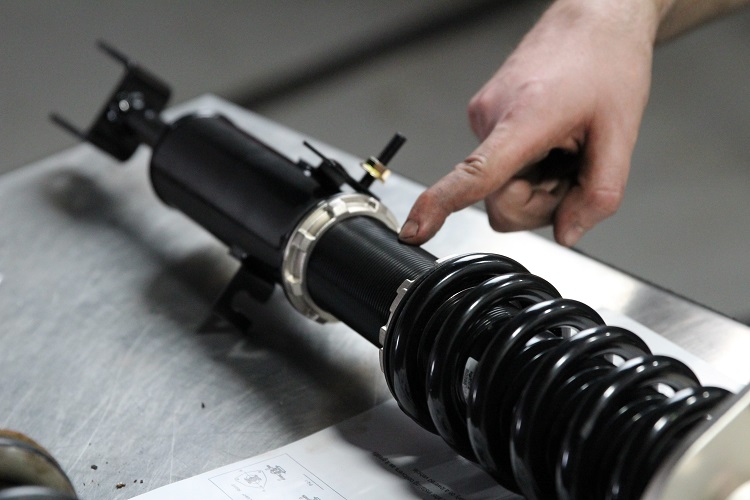
“The front received a true style coilover, while the rear will still have adjustability, but maintain the factory spring perch keeping a separate shock and coil,” Galuska explains. “These coilovers are going to provide us with full control over our ride height as well as getting our rebound and compression set up the way we want it.”
The overall goal of this work is to stiffen up the ride to get better inputs for steering response.
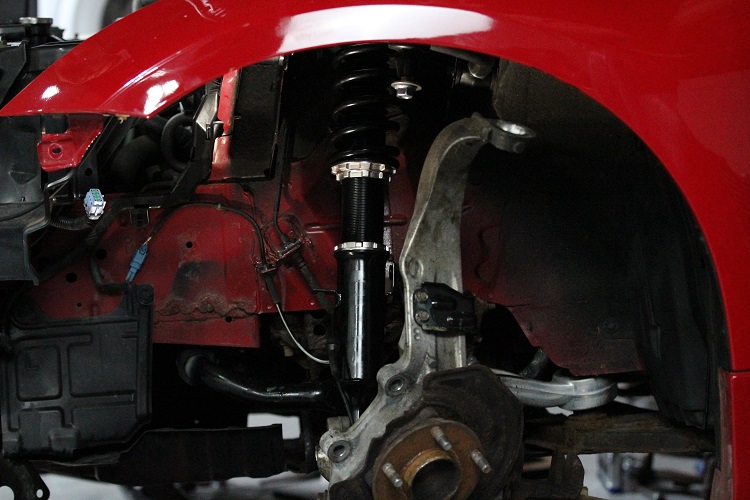
We were able to complete this with only a select few tools, including:
- 17 mm socket
- 17 mm wrench
- Rubber mallet
- Ratchet
- Extensions
- 12 mm socket
To achieve proper balance, we took this same philosophy to the back of the car after successfully installing the coilovers in the front. We made this possible by purchasing an adjustable set of rear traction arms and camber arms, so the alignment in the rear was dialed in.
Camber arms make it possible to adjust the suspension, and they are crucial to ensure that the tires have the proper amount of negative or positive camber we desire.
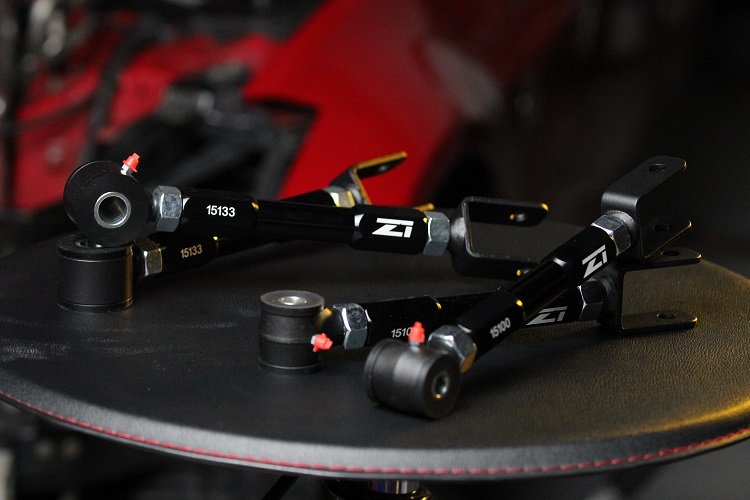
“If the top of the tire is leaning inward, you have negative camber, but if the top of the tire is leaning outward, you have positive camber,” Galuska explains. “The traction armsOpens a new window allow us to adjust the rear end to eliminate bump steer and let us get the ultimate traction put down to the ground.”
YOU HAVE TO KNOW WHEN TO CALL IT
One theme that continues to surface with each phase of the car build is the number of challenges and obstacles we didn’t account for. But that’s all part of the fun, isn’t it? Galuska certainly thinks so.
“We are currently slightly behind the timeline we liked to hit,” he admits. “We planned to be able to paint the calipers and get the brakes and rotors on… but because of all the problems we had with the bolts, some of that work is going to have to wait.”
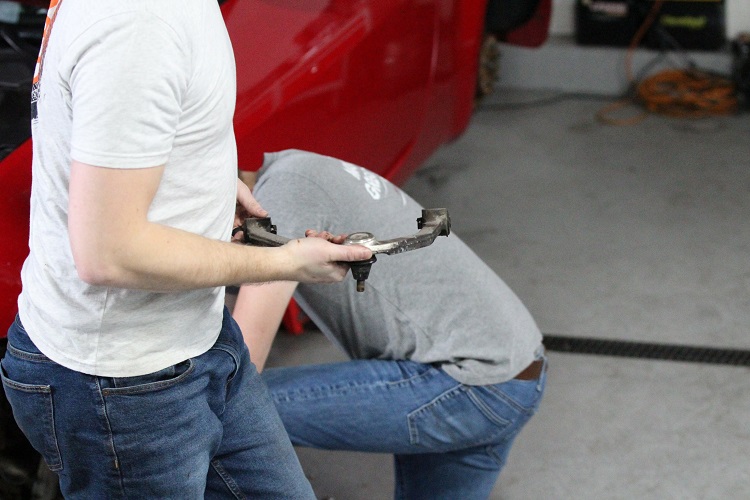
While working on a project car like this is a lot of fun, it’s a lot of work that can quickly eat up a lot of your time. For this reason, it’s important to know when to call it a day, and having a like-minded friend by your side is the best way to keep that timetable in check.
“As we talked about in the first episodeOpens a new window, there’s always something that comes up that makes the project take longer than expected. Today was no exception,” Goodson says with a smile on his face.
“You think it might take four hours, but it’s probably going to take eight,” Galuska adds.
WHAT COMES NEXT
We hope for an easier time next week as we look ahead to episode 4 of Revving Up™. Join us there to see us finish some of the items we had on today’s “to do” list like:
- Installing our new brakes and rotors
- Painting the calipers
- Installing our new chassis bracing
For more on this car build or the latest STA-BIL®Opens a new window and 303® news,Opens a new window make sure to follow both on Instagram (@303CarCareOpens a new window & @stabilbrandOpens a new window) and Facebook. You can also subscribe to their respective YouTube channels.
