REVVING UP™ – BRAKES, WHEELS, & CHASSIS
SYNOPSIS:
The work continues! After making some serious headway with a new suspension system for the 350Z, Galuska and Goodson are back at it to complete this part of the re-build in Revving Up™ Episode 4.
See how the pair works together to install new brakes and slotted rotors, sway bars, chassis bracing, and the exhaust. With this much progress, it’s like night and day compared to when we first started.
WOAH, WE’RE HALFWAY THERE
We’re really starting to hit our stride as Bob Galuska of STA-BIL and 303’s DJ Goodson lead the way in our re-build of a 2003 Nissan 350Z. The brand managers installed a set of coilovers, traction bars, and front adjustable upper control arms last week. Now, they’re here to close the loop on the suspension work before moving on to the brakes, wheels, and chassis.
Our entire crew has been having a blast working on this car each week by filming what we love to do and showing you how easy it can be. It’s incredible to see how much progress we’ve made so far because we are about halfway done with the work we plan to accomplish. More importantly, we didn’t get this far by living on a prayer, but with an innate desire to improve, even if it means getting down on the ground.
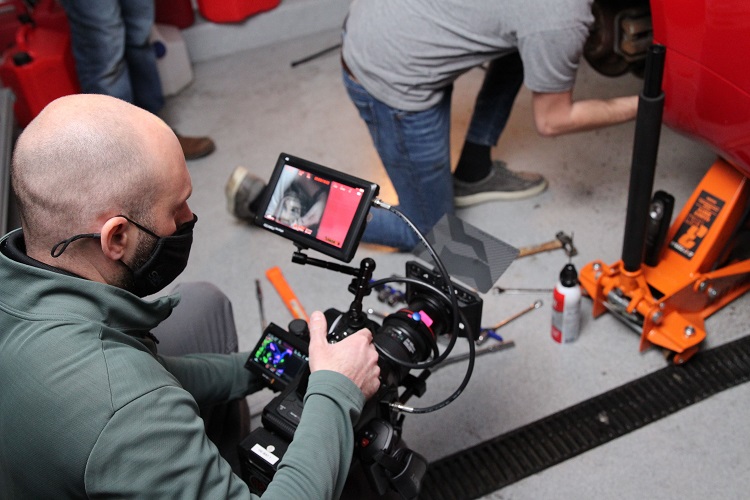
While the enhancements we’ve made to this point are significant, there is still much more that needs to be done here in Episode 4 of Revving Up. Stick around so you can see what it takes to install new sway bars, chassis bracing, exhaust, brakes, and slotted rotors. We’ll also be putting a fresh coat of paint on our calipers to make them pop behind a new set of wheels.
We can talk at length about our plans, but this coupe isn’t going to make these improvements on its own. So come follow along as we highlight everything Galuska and Goodson accomplish this week, including details that can help you perform similar work in your garage or driveway. After all, taking on a project like this is fun, cost-effective, and more achievable than you might think.
SWAY IT AIN’T SO
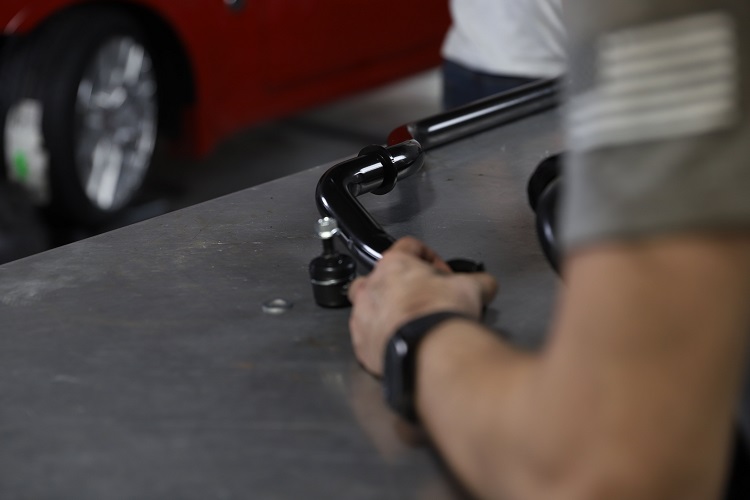
Sway bars, also known as anti-roll bars, are essential for keeping your car firmly planted to the ground. Connecting both wheels gives you more control, which is critical if you plan to drive at higher speeds. We want to have fun with this coupe, so swapping the old sway bars for a new set is the first thing we did.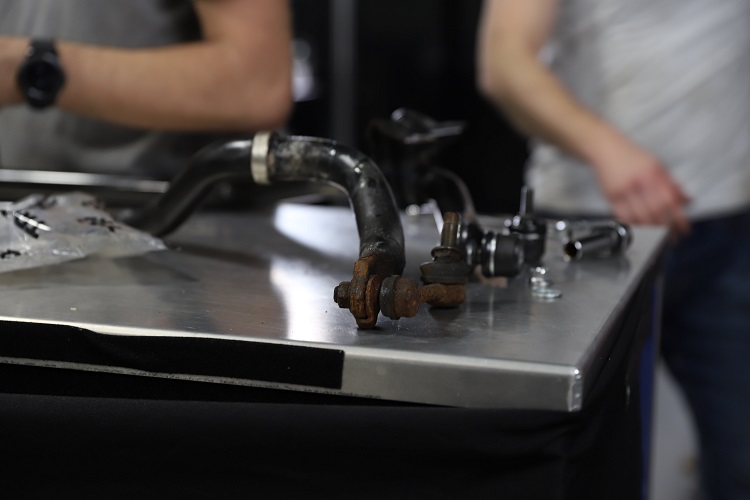
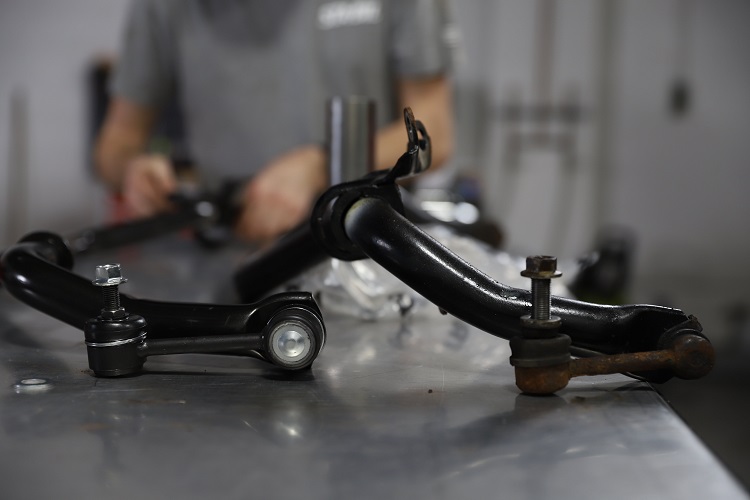
“If you are turning into a corner and you feel like the car is floating almost like a boat, this may be a good mod for you,” says Galuska. “Having increased rates for both the front and rear is going to again stiffen up our suspension and reduce body roll giving your ride a more planted feel when playing on some valley road S turns or on the track.”
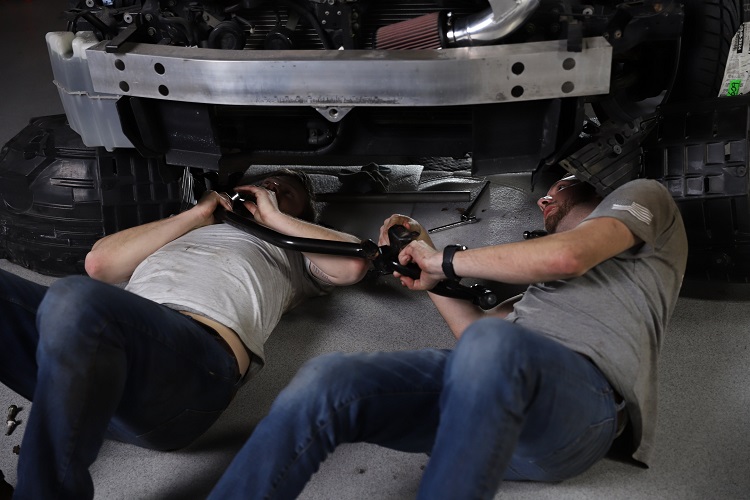
In order to install the new ST suspension sway barsOpens a new window, Galuska and Goodson used a 16 mm socket and ratchet to tighten it up. Then, they headed underneath the car to fasten the pieces in place. It always helps to have an extra set of hands (and light!) when getting down on the ground. So, keep that pro tip in mind if you want to perform similar work independently.
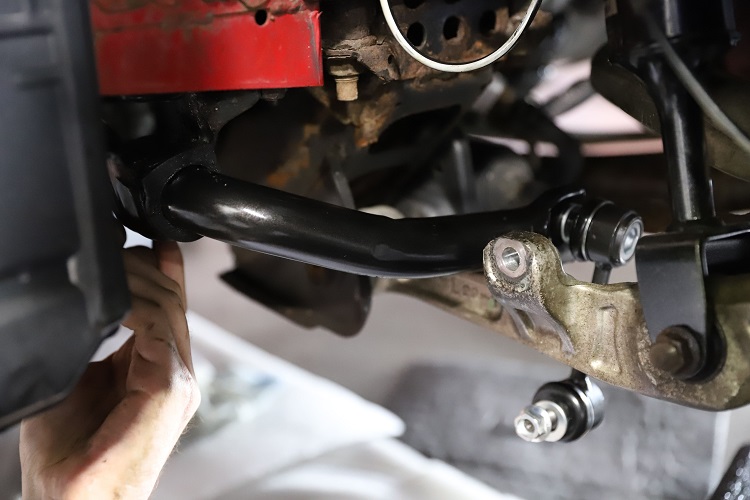
When installing the sway bars, line up the arms the same way it is reflected in the image above. Once you have the correct angle, you will connect and tighten it to make sure it is as secure as possible.
DON’T GO BRAKING MY CAR
The most exciting part of working on a project car like a Nissan 350Z is considering the end result. Having the final product in mind is a natural motivator, and at this point, we are envisioning a Ricky Bobby situation because we want to go fast. Ultimately, the car will need high-performing brakes so we can stop… When we have to.
“We chose to go with a set of R1 slotted rotors and their ceramic padsOpens a new window,” Galuska explains. “The slotted rotors will help dissipate some heat as well as remove debris from the pads. The ceramic pads we choose are a good all-around pad for daily performance as well as having some fun on the track.”
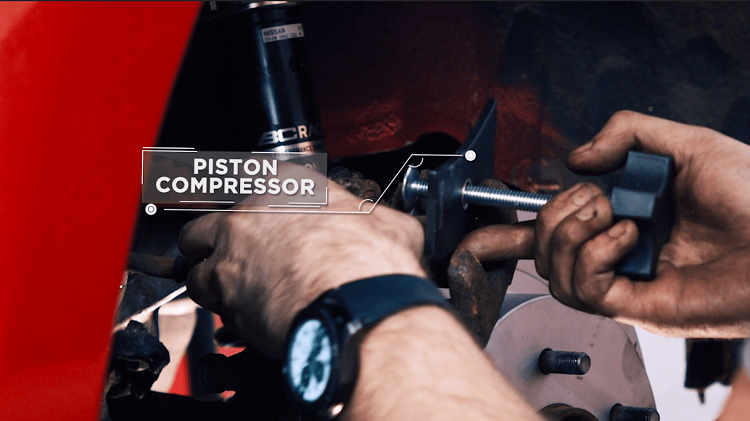
Getting our brakes in working order required us to first compress the piston calipers.
“The tool we used to push back in the piston on the caliper is called a piston compressorOpens a new window,” Galuska says. “It allows the caliper to be installed easily and fit over the brake pads to push the piston completely in.”
Since we want this car to exude personality, we dressed up the calipers in gold paint after pushing them into place.
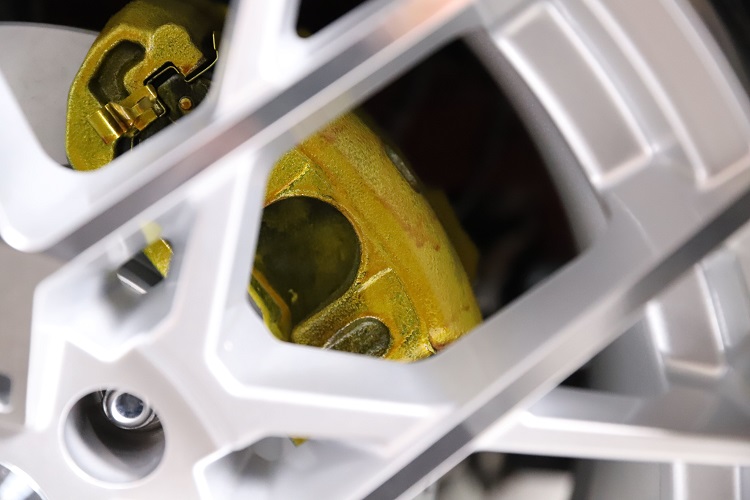
“This is obviously 100% cosmetic, but we wanted to show you how easy it was to customize your ride a little bit more and how affordable it can be,” says Goodson. “The paint we used only cost about $25, and you saw how easy it was to apply.”
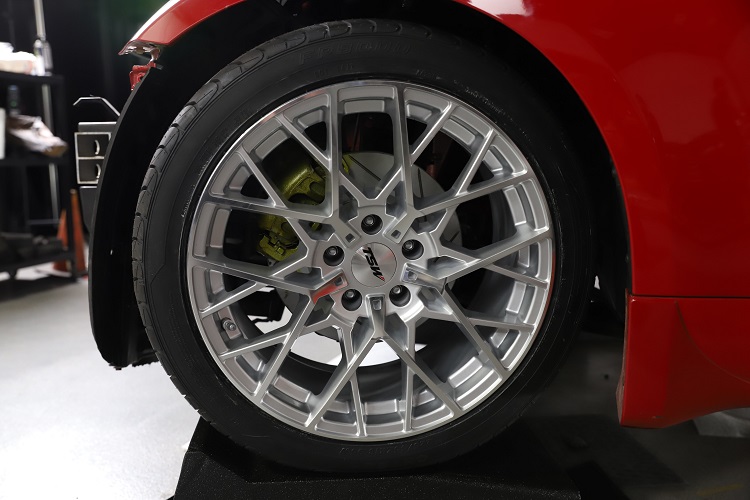
You are free to choose whatever color you like best, but we thought gold would appear luminous against the red paint and silver wheels of the 350Z. “Another reason is the factory Brembo brake option on these cars were gold as well, so it ties into Nissan’s original thoughts,” Galuska says.
IF IT’S UP, THEN IT’S UP
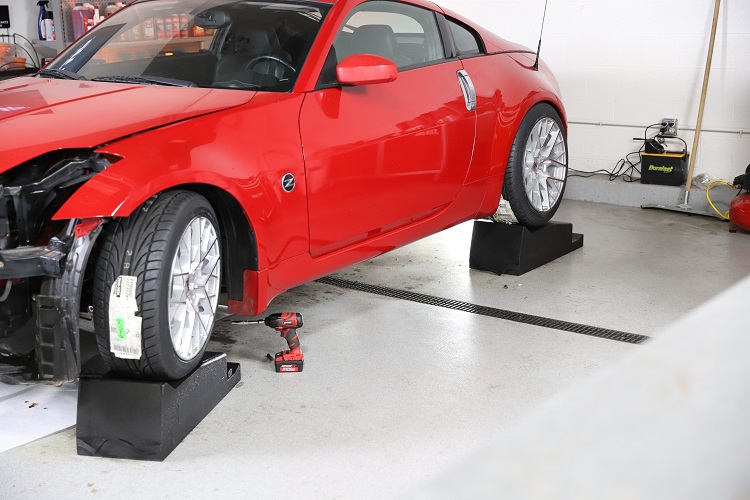
Until this point, we’ve been using jack stands to prop up the car. But since we plan to work on the new exhaust and chassis bracing parts, we decided to elevate it today using a race ramp.
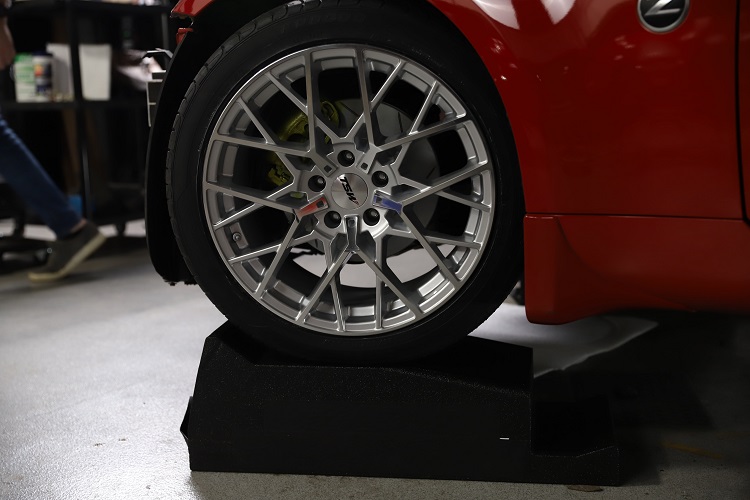
“The reason for putting the car up on the race ramps was twofold,” explains Galuska. “It allows us to get the car down on all four wheels and tires to check the fitment with the new suspension. It also allows us more room to get under the car to install the exhaust and chassis bracing parts.”
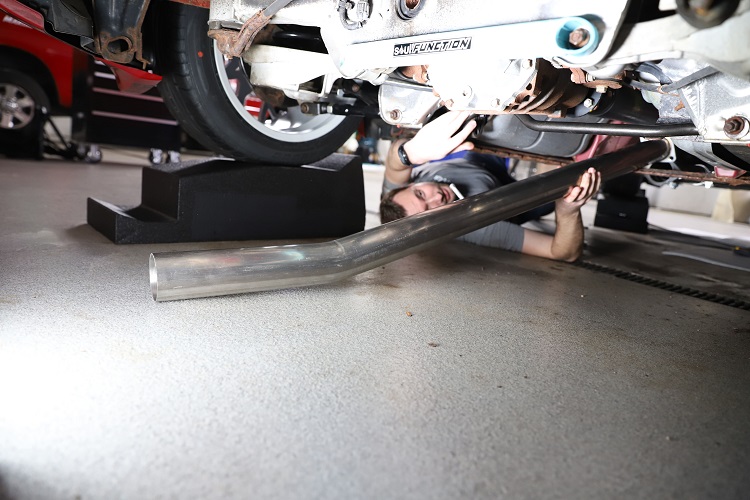
We didn’t want to hold anything back, so we chose to install a Z1 single exit systemOpens a new window for the exhaust.
“This should reduce some weight and maximize the exhaust flow allowing our exhaust to escape through the mandrel-bent tubing easily,” Goodson says. “Z1’s website states it as being LOUD in capital letters, so hopefully we can wake some neighbors up with this thing.”
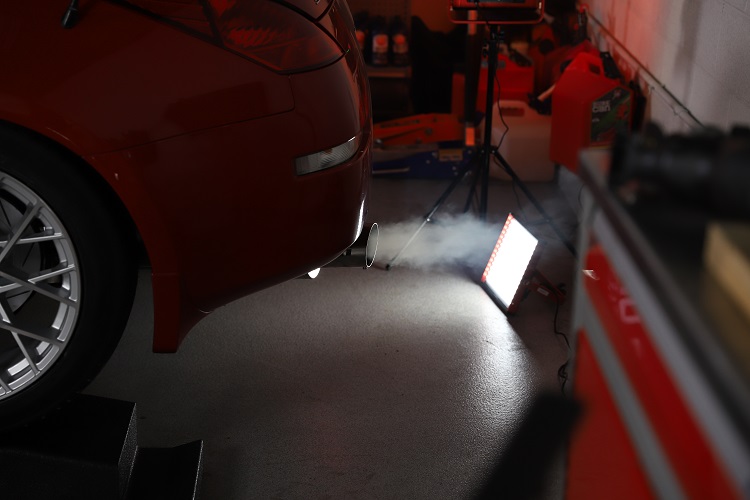
If you’re ready to wake up the neighborhood, you can install this style of exhaust with a 14 mm socket, 16 mm socket, and a ratchet.
BECAUSE YOU’RE SO SMOOTH
Back in Episode 1Opens a new window, we had difficulty taking out the exhaust. The new install went much smoother this time around since we’re dealing with newer parts that are void of rust. Nonetheless, we still needed to finesse the muffler to make it fit correctly.
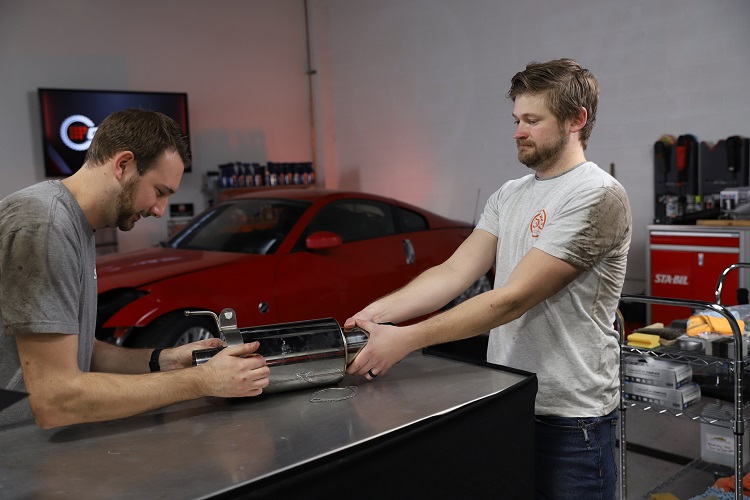
“When we were finishing up the exhaust install, the muffler was lightly touching the rear bumper,” Goodson explains. “This was an easy fix, as we just had to slightly bend the final exhaust hanger and reattach it.”
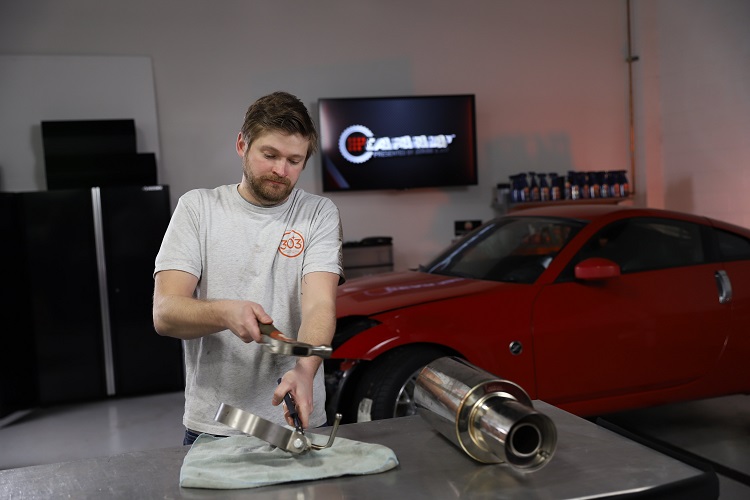
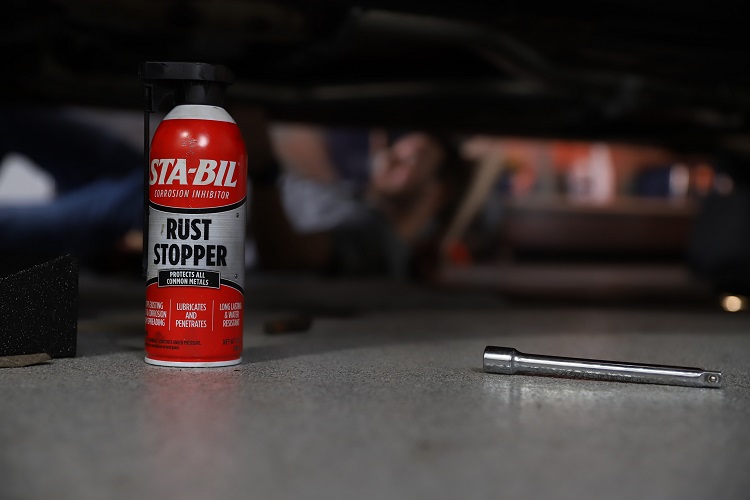
While installing the exhaust hangers, we used STA-BIL Rust StopperOpens a new window to mitigate any corrosion. This product was a big help in keeping us rolling with the theme of making the day’s work feel silky and serene.
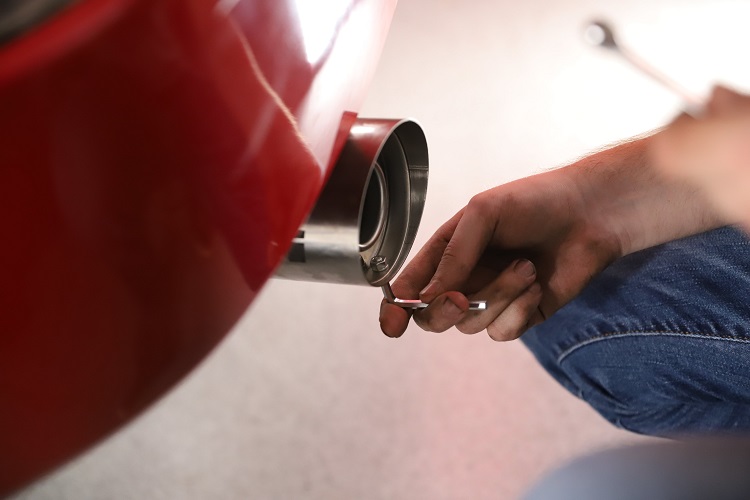
“This exhaust comes with a silencer inside of the muffler, so you can make the exhaust quieter or louder based on your preference,” Galuska explains. “So we used an Allen Wrench to remove the silencer because we prefer the car to be a bit louder.”
ON THE ROAD AGAIN?
We’ve come a long way to this point, and our 350Z is almost to the point where it is drivable. The key word here being “almost.”
Before we get there, we need to install the chassis bracing, which is the final mechanical piece we will be using on the build.
Also, we will have to take it to a suspension shop for a proper alignment before we can confidently declare road readiness. It’s so close we can almost taste it!
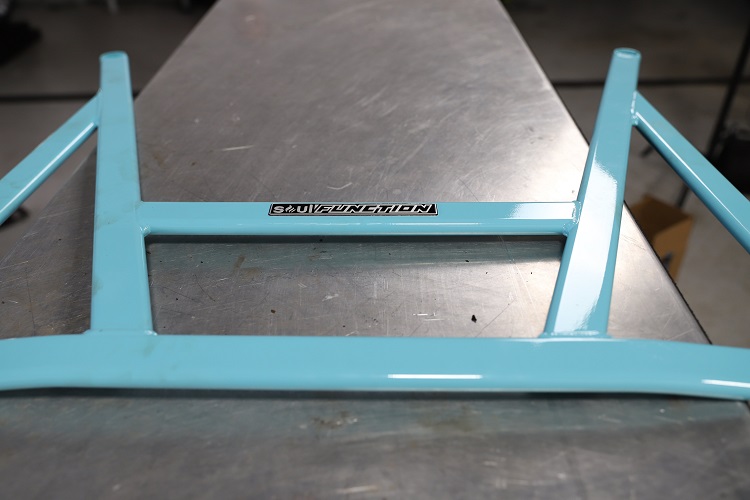
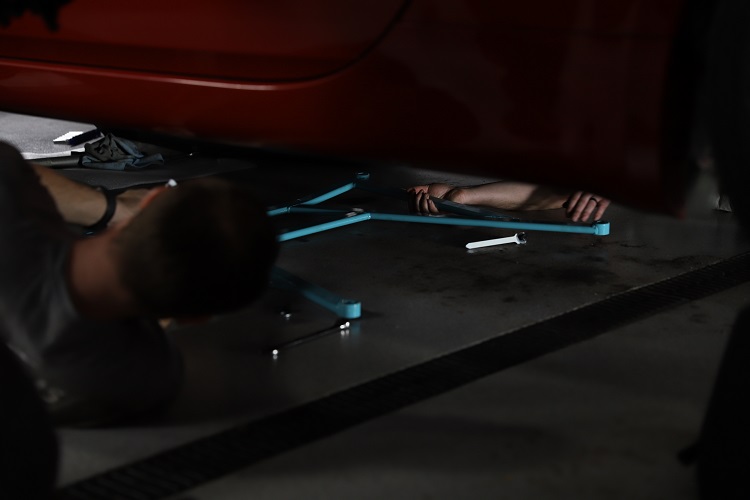
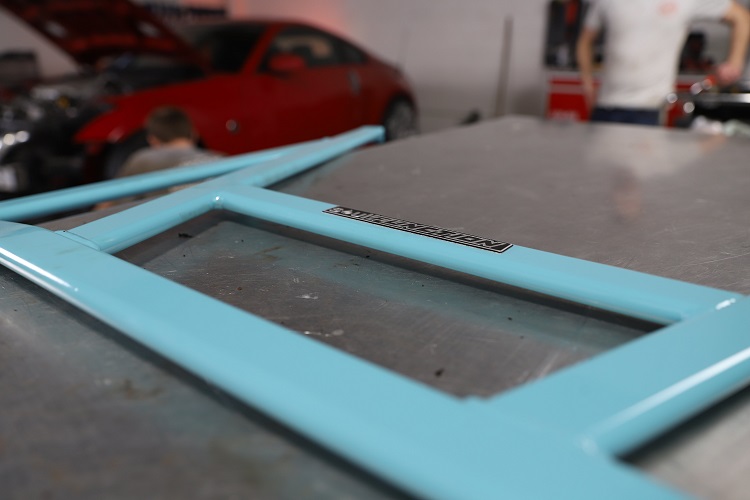
“The point of the chassis bracing is to reduce the flex by reinforcing the weak point of the factory unibody,” Galuska explains. “This makes the chassis more rigid, which helps with handling around corners.”
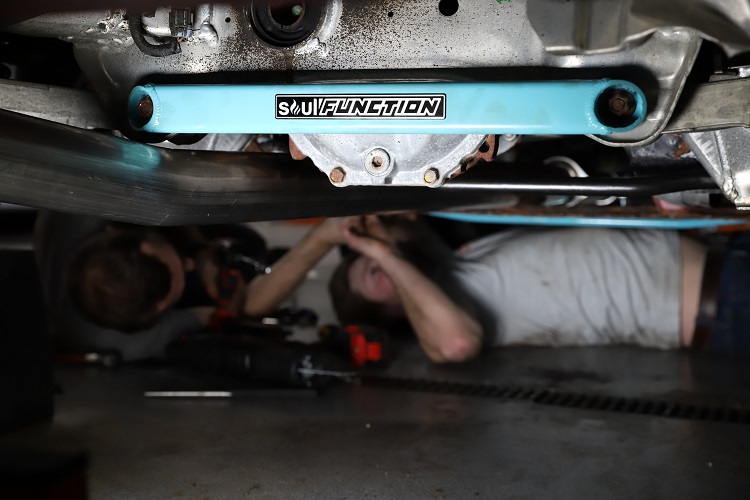
When installing the chassis bracing, we drilled into the unibody to create a larger hole for the bolts. We did this to make sure it was completely secure for optimal handling. This step was the last mechanical modification we needed in order to make the car drivable (milestones, baby). But we still have some cosmetic changes and finishing touches we want to incorporate in the next couple of chapters, so you’ll have to rejoin us as we prepare for one exciting conclusion.
WHAT COMES NEXT
If you read the entire blog to this point, we commend you for sticking around. We know it’s a go-go world, and we thank you for not sitting there in your chair (or block of wood) feeling bored.
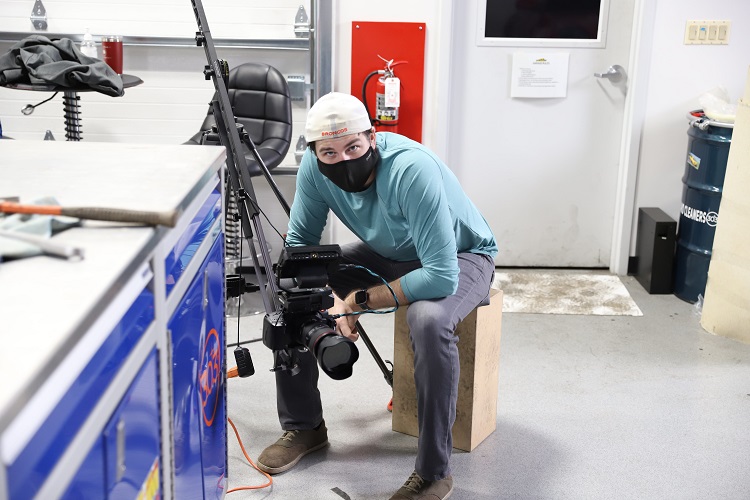
Major bonus points if you caught every song title and lyrical reference we used in the subheadings (in order):
- “Livin’ On A Prayer” by Bon Jovi
- “Say It Ain’t So” by Weezer
- “Don’t Go Breaking My Heart” by Elton John featuring Kiki Dee
- “Up” by Cardi B
- “Smooth” by Santana featuring Rob Thomas
- “On The Road Again” by Willie Nelson
As we look ahead to Episode 5, we will be focusing on some serious cosmetic modifications. So if you live to customize, join us next week to learn how to stylize your car’s exterior without having to put a massive dent in your wallet. You will also get a chance to see us add:
- A front splitter
- Side splitter
- Hood vents
For more on this car build or the latest STA-BIL®Opens a new window and 303® news,Opens a new window make sure to follow both on Instagram (@303CarCareOpens a new window & @stabilbrandOpens a new window) and Facebook. You can also subscribe to their respective YouTube channels.
