REVVING UP™ – AERO ADDITIONS
SYNOPSIS:
After performing much of the base and framework, the time has finally come to give the 350Z some cosmetic changes in Revving Up™ Episode 5.
Get a step-by-step look at how Galuska and Goodson make the coupe more aerodynamic by installing a front splitter, side splitters, and new hood vents.
THE STORY SO FAR
We are four chapters into our re-build of a 2003 Nissan 350Z, and boy, have we made some serious progress. In fact, we completed all of the mechanical modifications we planned for the car in Episode 4, allowing us to start it up for the first time since we began this series!
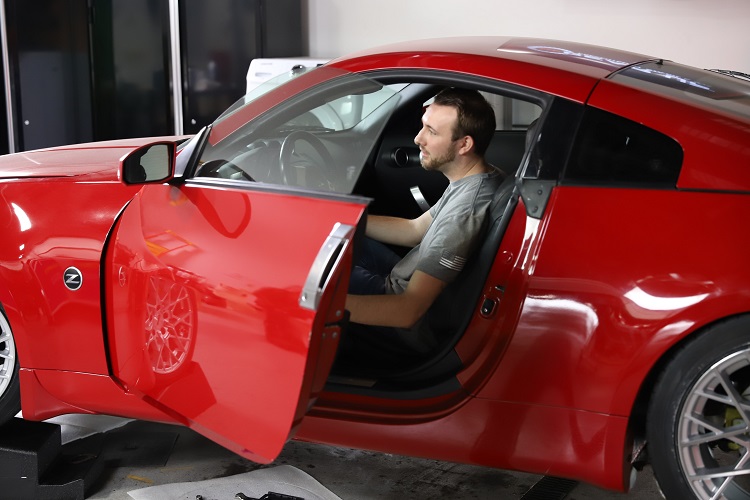
Hearing that engine come to life was a gratifying reminder of the hours we’ve put into the ride. After all, we thoroughly cleaned and prepped the 350Z in our pilot episode. We also installed several new pieces in the chapters that followed, including:
- Cold air intake
- Plenum spacer
- Fully adjustable suspension
- Brakes
- Rotors
- Wheels
- Exhaust
- Chassis bracing
Now, we are turning our attention to making some profound cosmetic changes on the coupe by installing a new front splitter, side splitters, and hood vents.
All of these design choices were ours and ours alone because that’s what this series is all about. We take pride in the process of building a custom ride, doing it your way, and accomplishing it with a modest budget. Read on to learn how you can do the same, and don’t forget to check out the episodes in order to see how we got here.
WHEN “COOL” SERVES A DUAL PURPOSE
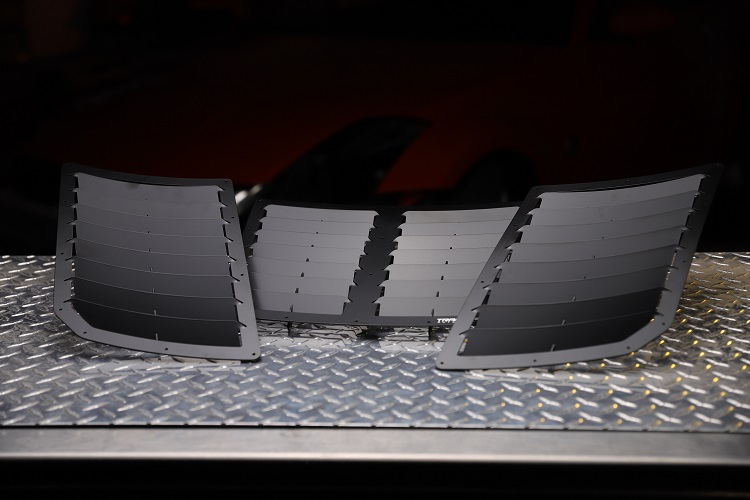
If you ever came across a stylish sports car that’s dressed with fashionable hood vents, they serve a purpose beyond looking sleek. In a much more literal sense, these vents allow air to flow more freely so hot temperatures don’t get a chance to overwhelm the equipment under the bonnet.
In STA-BIL Brand Manager Bob Galuska’s own words:
“The hood vents have a dual purpose. They look cool while also providing some additional cooling when we are pushing the car to its limits. Any time you can keep underhood temps a bit cooler is a good thing. But they also look pretty rad as well.”
Take a look at the following photo to see what the 350Z looks like before we get started with the hood vent installation.
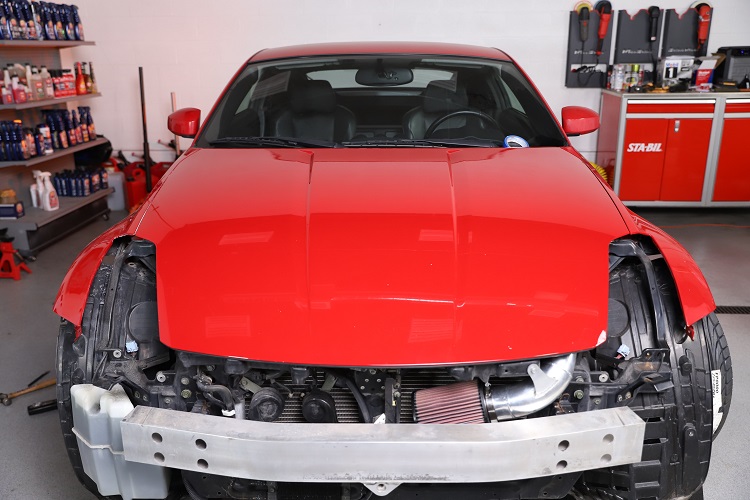
All of that red real estate looks pretty, but we know that we can make it look even more attractive with our hood vent plans. That’s why we used a rotary tool, cutting wheel, rivet gun, drill, 1/8 drill bit, and tape to complete the job.
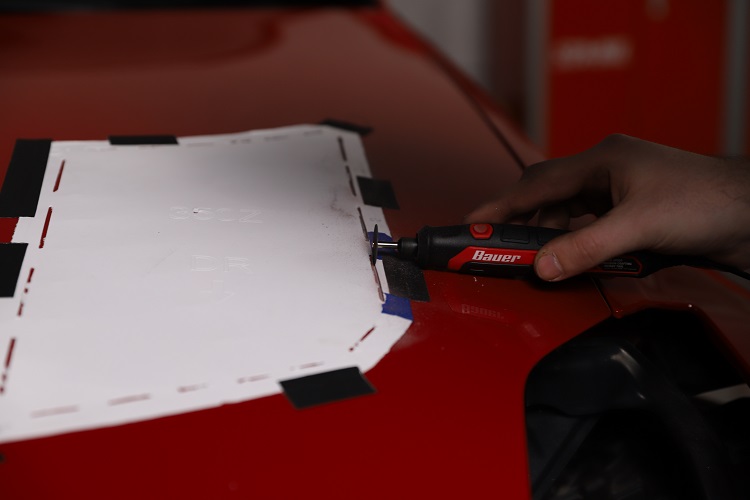
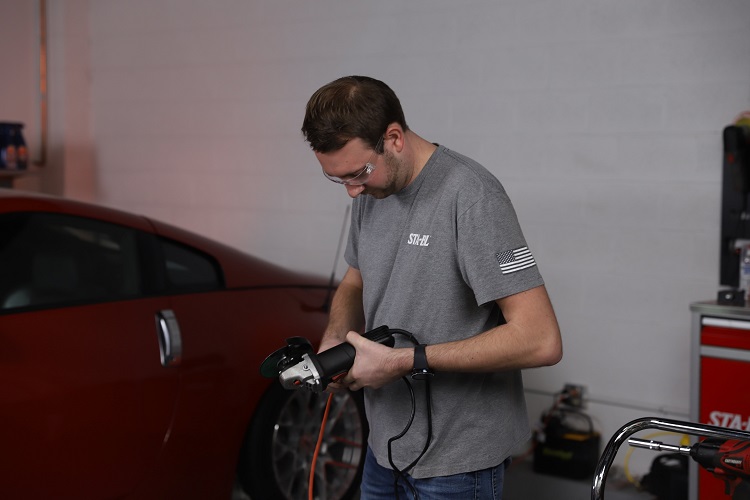
We are on chapter five of the series, so we have become intimately familiar with the phrase, “The best-laid plans of mice and men often go awry.” Working on a project like this lends itself to unforeseen issues, but there is always a workaround, making the final product even more rewarding.
This week we were troubled by the painter’s tape we used to outline the holes we need to cut for our hood vents. Painter’s tape of all things!
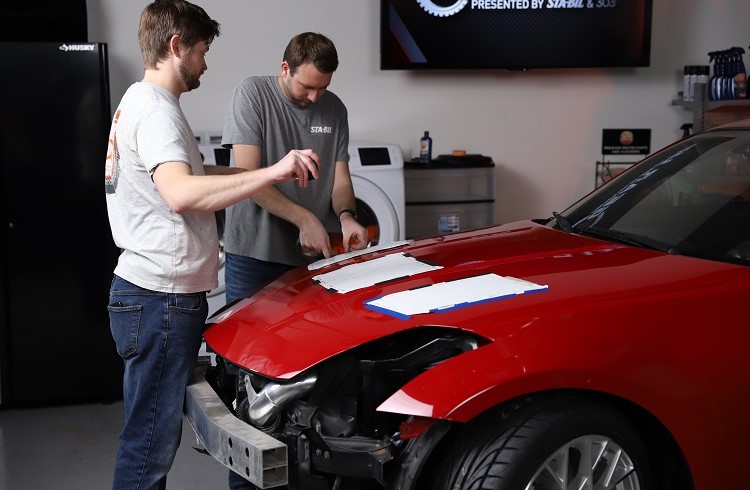
“The painter’s tape we were using to hold the stencils in place didn’t stick well to the hood—so thankfully we were being filmed and used some production Gaffer’s tape, which held up a lot better,” said 303 Brand Manager DJ Goodson.
We also saved some time by cutting our holes directly into the hood without taking it off first. Some people might see a need to take that extra step, but you can go for it if you pay close attention to your outlines. Do that, and you can go straight for it. Full send.
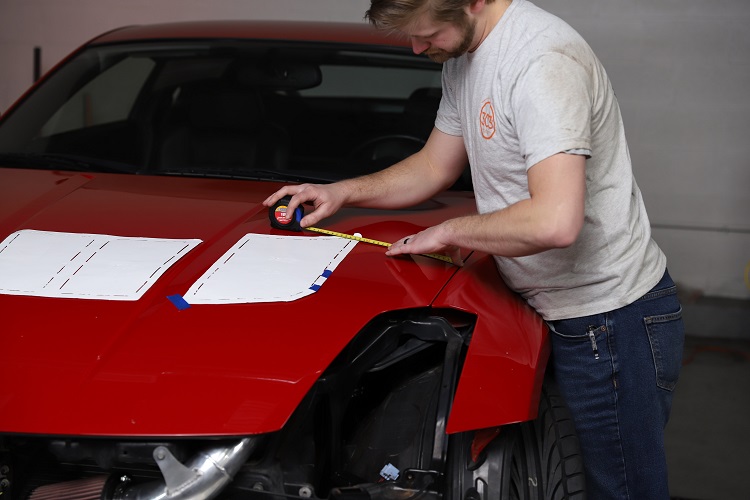
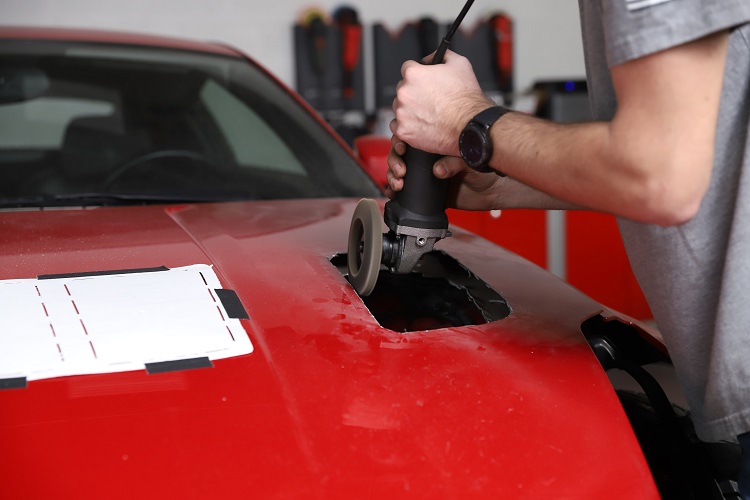
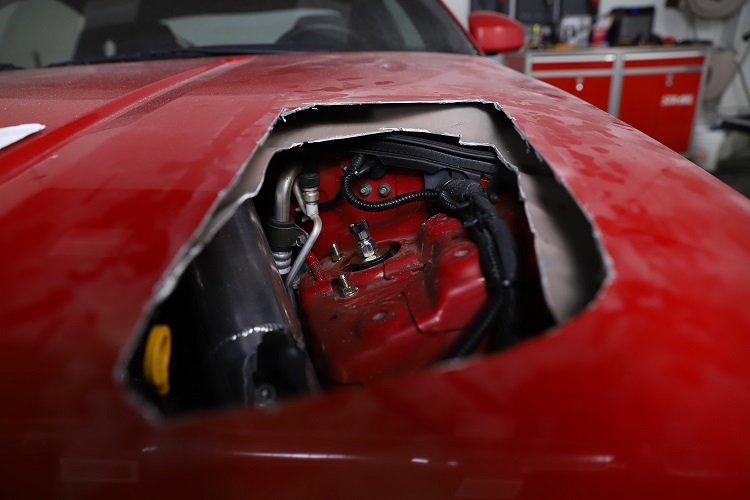
“We didn’t take off the hood to cut the holes for the vents because it wasn’t necessary, and it saves time,” explains Goodson. “You just have to know where you’re cutting, which makes the prep work a lot more important.”
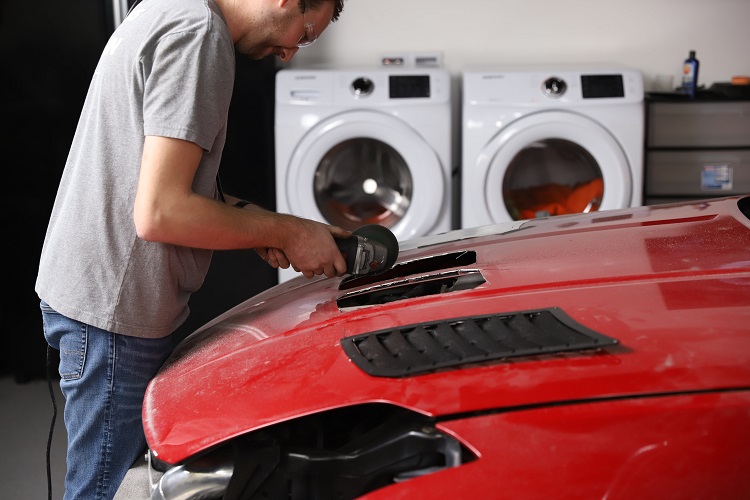
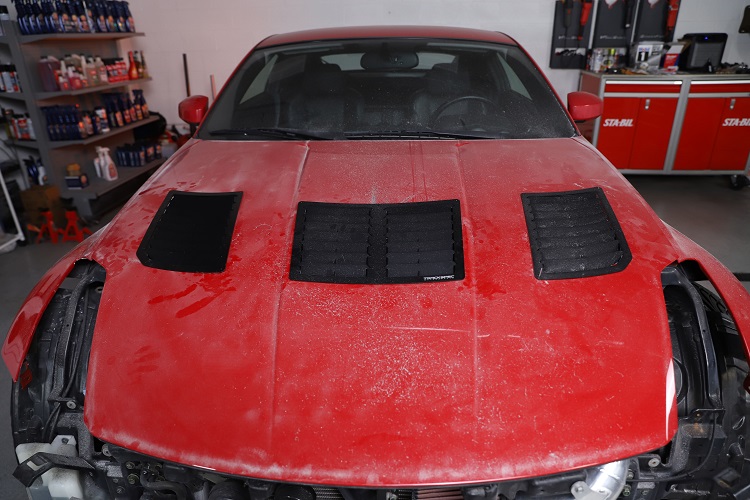
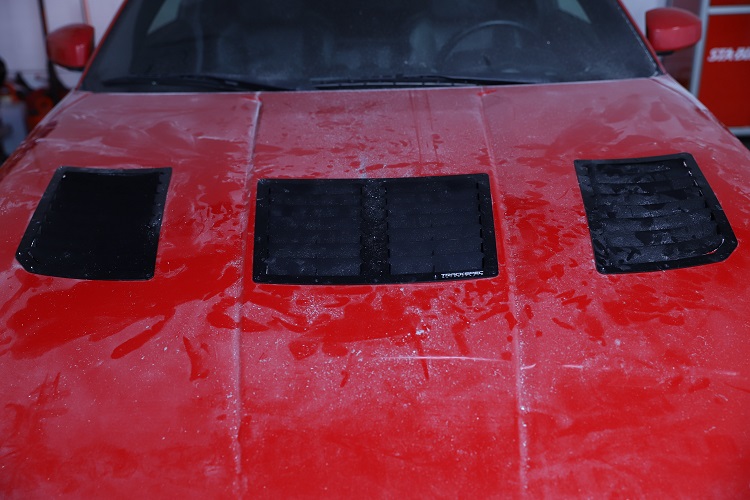
Drilling and cutting made things a little dusty, but look at how much style these hood vents add to the 350Z.
THE FAST AIR SPLITTER
Once we had the hood vents installed, we shifted our attention to the front splitter. Including this on the car was another choice to help in the coupe’s cosmetic appeal while simultaneously improving its performance.
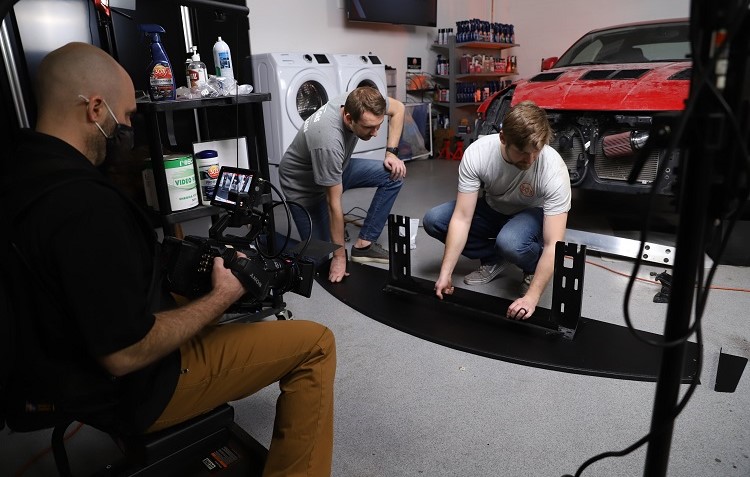
“The front splitter literally does what it’s called- splitting the air coming at the front of the car,” says Galuska. “This will give the car a bit more downforce to help with handling at higher speeds.”
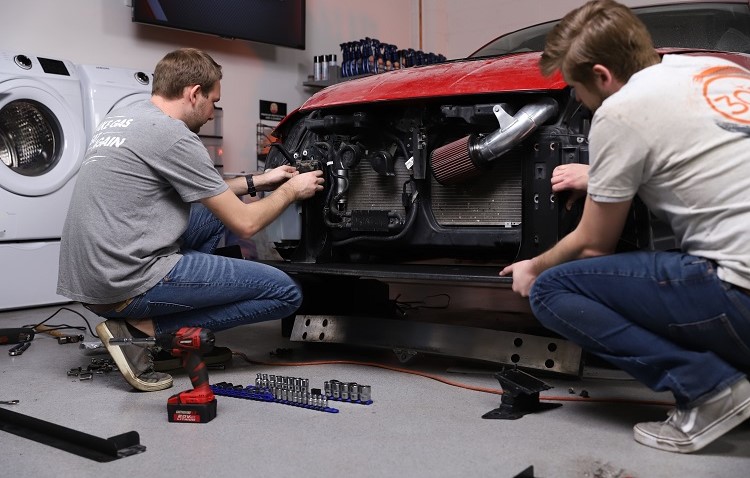
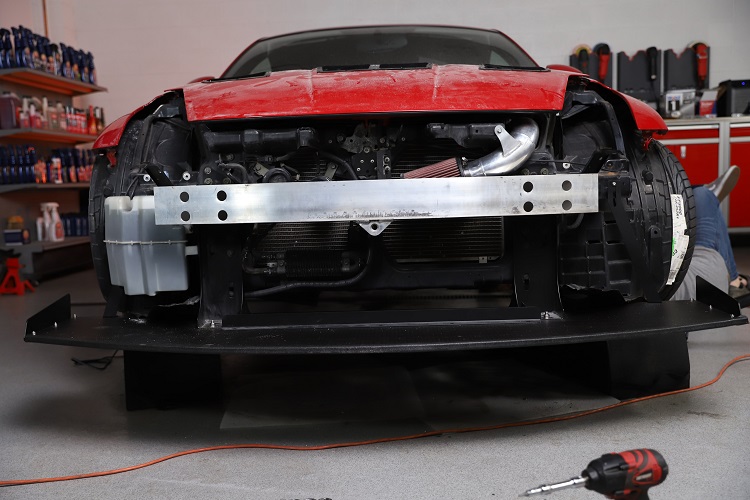
We elected to go with a chassis-mounted splitter instead of a bolt-on style that you can easily find online. Our front splitter needs to be highly functional, so we can maximize the performance of the Z. This is critical because we have BIG plans for it in the coming weeks.
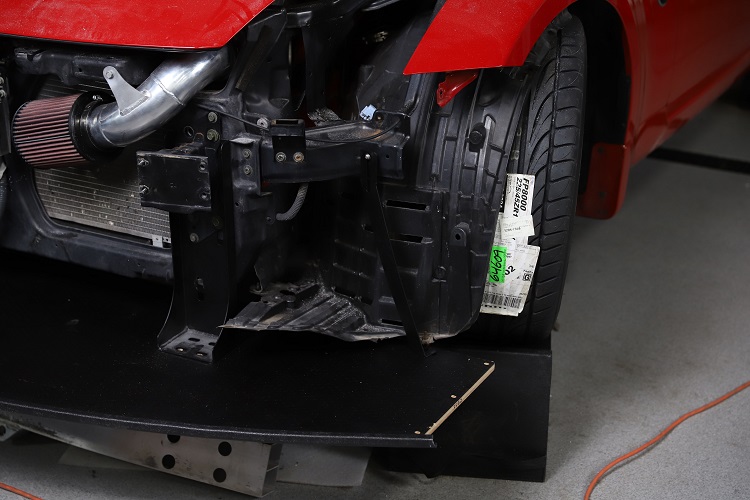
So how can you install a front splitter if you were so inclined? We used a 14 mm wrench, 14 mm socket, 10 mm socket, 10 mm wrench, drill, and a 4 mm Allen wrench to get it done. These tools are all you will need to secure it, even if you have to install it behind a reservoir as we did.
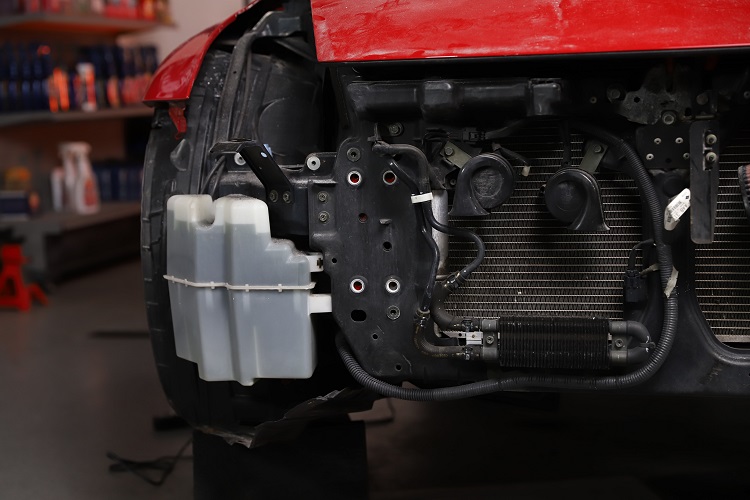
“We were able to reuse the bolt hole for the windshield washer reservoir for one of the support braces for the front splitter,” Galuska explains. “This is common when you’re putting on an aftermarket part. It’s better to use an existing hole if you can as opposed to drilling a new one.”
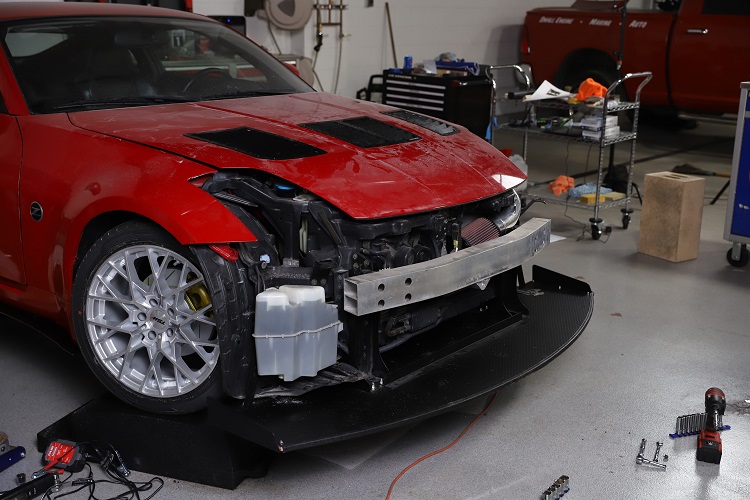
After installing the front splitter, we felt an urge to test out the fit with the front bumper. We brought it over because we were curious to see if it would be possible to leave it on for the rest of the re-build.

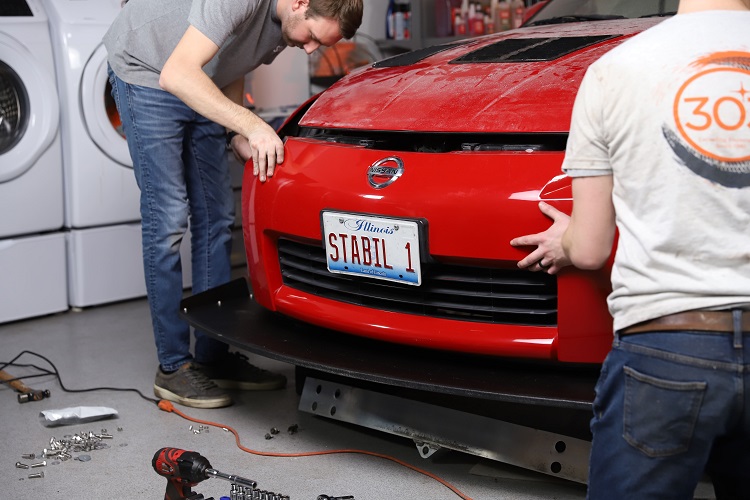
After lining up the bumper, it looked a little too close for comfort. Galuska explains:
“It was real close right away, so we were able to install the splitter and keep the bumper aside until we install our new headlights. That should be the last step for this front end we’ve totally revamped.”
SPLITTING OUR SIDES
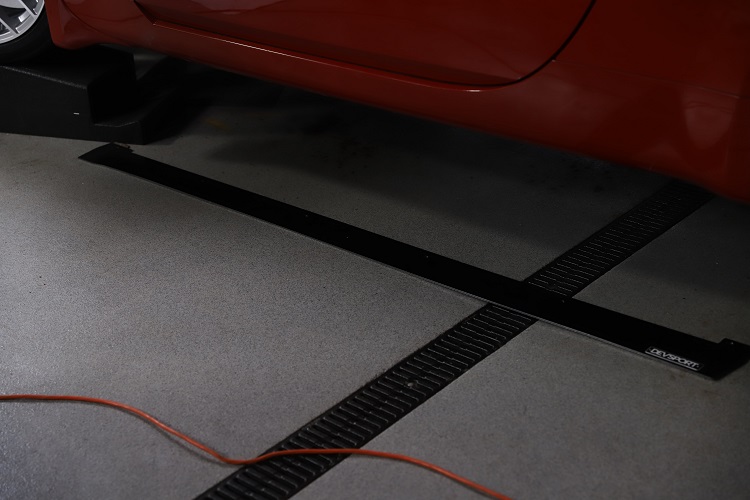
Slapping on the side splitters was the last item on today’s to-do list. Unlike the hood vents and front splitter, we are choosing to include these purely for aesthetics. In plain English, the side splitters themselves serve no purpose beyond looking completely badass and matching what we installed on the front.
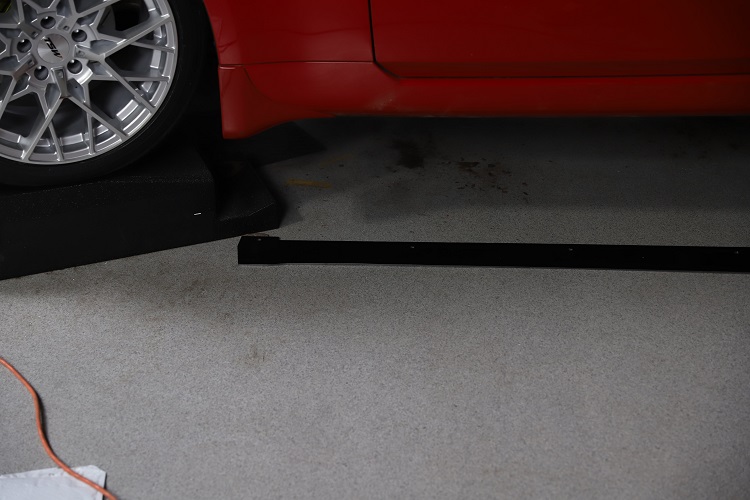
“As we said at the beginning of this series, the car is not a full-blown race build but a combo between some fun basic track mods and making the car look cool,” says Goodson. “We felt the side splitters give it a bit more of an aggressive look, so that’s why we chose these.”
Installing the side splitters required us to get down on the ground, which can be challenging the older you get. The way we see it, however, working on cars keeps us young.
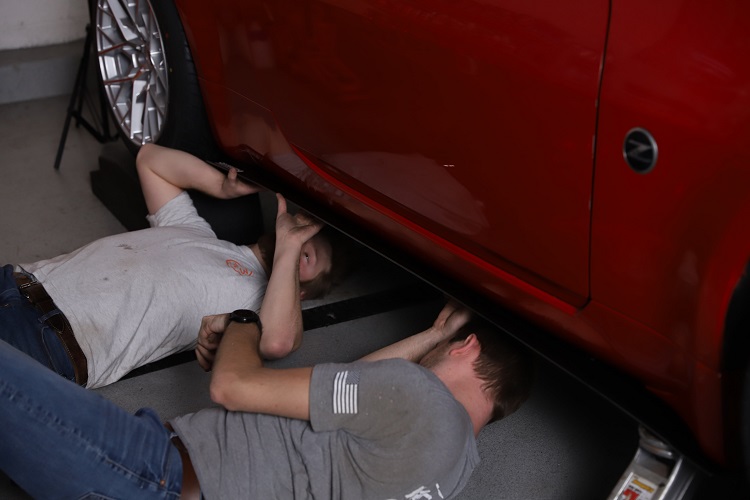
We used a race ramp to elevate the 350Z last week, and we’re propping the car up even higher with the help of a jack stand this time around. This type of tool is important to keep handy if you want to give yourself enough space to drill holes with precision.
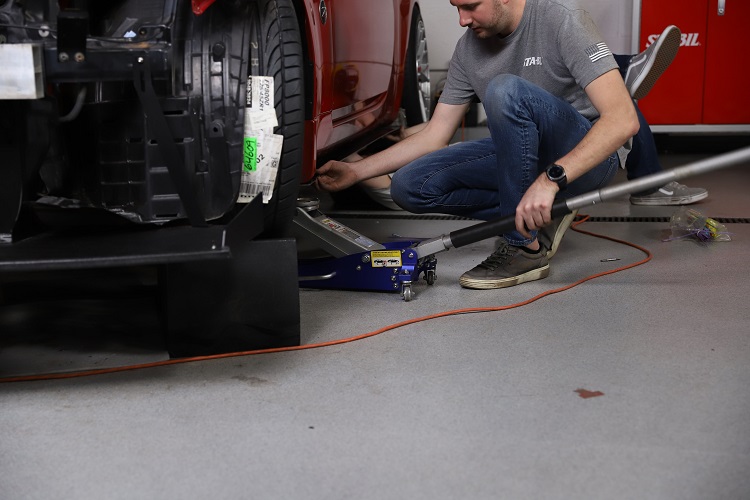
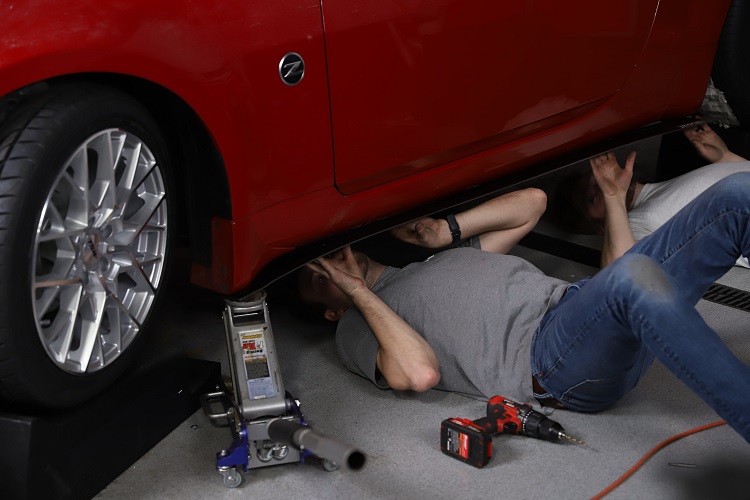
We did our due diligence to ensure the side splitters were securely fastened in place. But since we worked on the front and side today, it still begs the question of which splitter is the most stable (or STA-BIL) between the two.
“The front splitter is solid and is likely to withstand pretty much anything,” Goodson answers. “The side splitters should be fine because of how secure they are, but if you’re handicapping which one is more durable—it would be the front.”
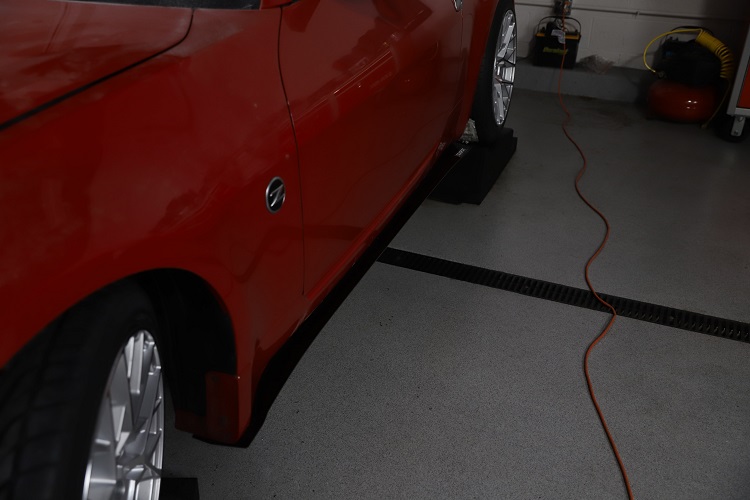
Once we completed the installation of the side splitters, it looked like the photo below, which was good enough for us to call it quits for the day.
WHAT COMES NEXT
Now that our 350Z has received significant mechanical and cosmetic changes, we are nearing the finish line of this incredibly fun project.
Catch us next week to see us put the finishing touches on the ride. It will be your last chance to see us work in the garage as we install a new radio and give the car a thorough detailing with 303 products.
This detailing work will include a cleaning, polishing, and the addition of a vinyl wrap. All you have to do is look at this mess to understand why we plan to spend a significant amount of our time getting it spotless to present the finished product.
For more on this car build or the latest STA-BIL® and 303® news, make sure to follow both on Instagram (@303CarCare & @stabilbrand) and Facebook. You can also subscribe to their respective YouTube channels.


