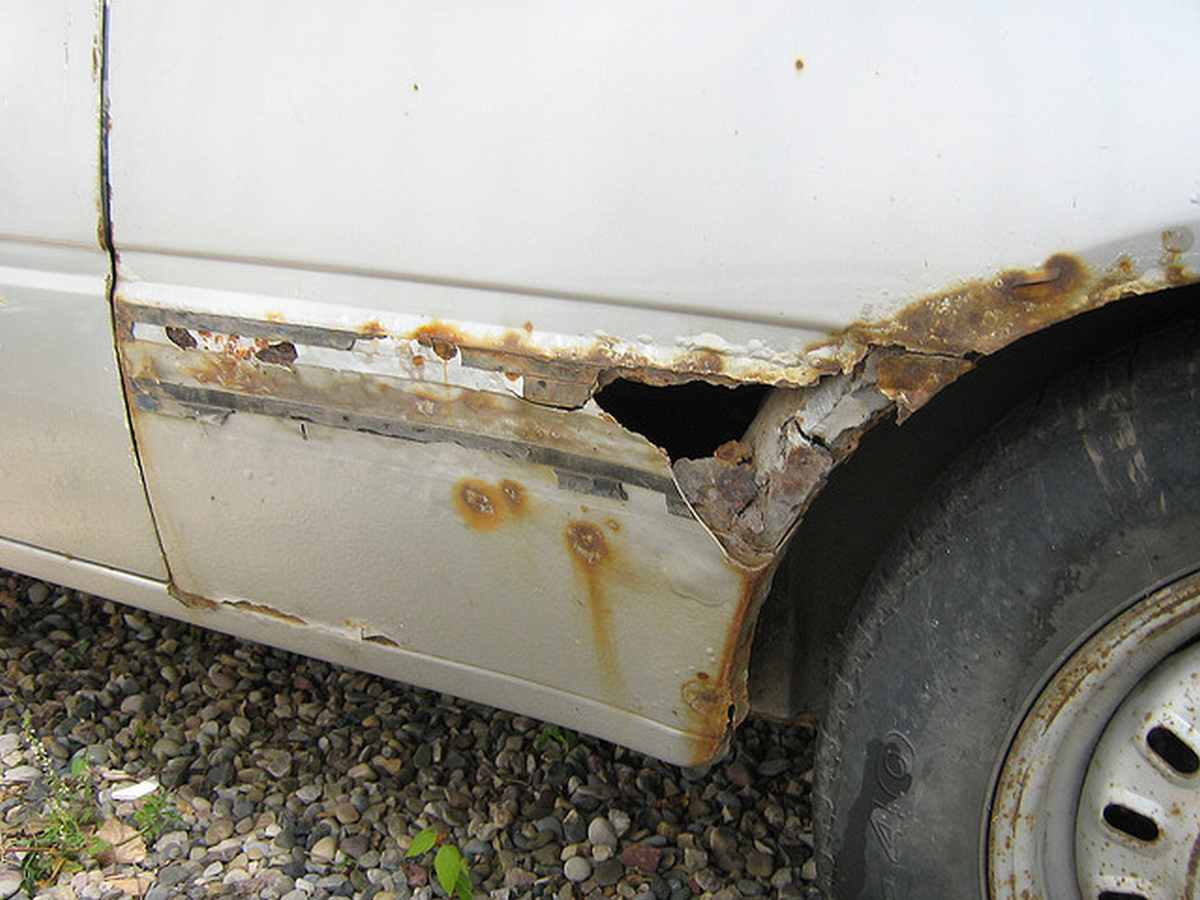
How-to Repair a Rust Hole in Your Car
 It’s another How-to Thursday. We all love our rides and do everything in the world to maintain them and keep them running smoothly. But what do we do once we see the first sign of rust on our cars?
When a car begins to get rust holes, it is important to fix the damage before it gets worse. Here are three easy steps to repair rust holes in your car. It will take a little work on your part, but it’s worth the time and effort.
Remove the Rust
Before starting, it is essential to remove all of the existing rust. It may seem difficult, but if any rust remains, the problem will quickly return. A grinder can get rid of all of the rust. It may be smart to remove a small amount of paint around the rust hole as well. When the rust appears to be gone, continue sanding by hand for a smooth surface. Before proceeding, it is wise to paint the hole’s border with a rust converter. This changes rust that remains into iron.
Apply Fiberglass Over the Rust Hole
With gloves on the hands, a person must cut fiberglass pieces that will cover the hole. It is essential to use as many layers as possible to obtain a sturdy finish. For best results, make sure to let each layer dry and to sand the layers as well. When finished, it is smart to apply a thin layer of putty over the fiberglass to fill any holes. Sanding will create a smooth base.
Repaint
Apply a primer layer that gives a natural color to the body. Then, using a spray gun, apply a coat of the car’s regular paint color. A few coats may be necessary. During the final coat, the temperature should be high.
The above steps will help a person easily repair rust holes in a vehicle. This will keep the car looking good and free from further damage. There is no need to have them professionally fixed. It is a simple DIY project that will not take much time to complete.


