How to Store Outdoor Power Equipment for Winter
Your outdoor power equipment makes yard work a breeze.
Week after week, the tools you love do wonders when it comes to trimming the hedges, cutting the grass, and gathering the leaves so your lawn looks exactly the way you want it.
But if you want your lawnmower, hedge trimmer, edger, and leaf blower to continue operating at a high level, you need to know how to store them properly.
Let us help you understand how to winterize your outdoor power equipment effectively so they can rest easy during the off-season.
All you have to do is follow the simple steps outlined below, and the equipment you love will be ready to go once springtime comes around again.
Preliminary Step: Check Owner’s Manuals
The steps that we will cover are going to work just fine so long as your equipment is powered by gasoline. But before you do anything, reference the owner’s manual for each piece of outdoor power equipment you own.
As a simple best practice, it’s always best to double-check the owner’s manual in case your piece of equipment has any unique qualities. Aside from that, the following seven steps are universal for all of your outdoor power equipment.
Step 1: Drain and Change the Oil
Once you feel comfortable and confident with your equipment, the first step is to drain and change the oil for your four-cycle engine. Keep in mind that this step does not work for two-cycle engines, but don’t worry because we will get to that later.
Startup your four-cycle engine and let it run for a couple of minutes because warm oil is much easier to work with. After you have given it 90 to 120 seconds, let it shut off naturally.
Place a large cloth or piece of cardboard on a hard, flat surface. Then, throw on a pair of gloves and put your equipment onto the protected surface.
Take off the exterior casting of the four-cycle engine. Remove the air filter, spark plug wires, and the plugs themselves to avoid an accidental start.
At this point, you can allow the oil to drain if your equipment has a drain plug. If it doesn’t, use a hose or tube to siphon it out.
Collect the old oil in a reserve and take it to your nearest auto parts store or a recycling center to dispose of it responsibly.
Then, you can add fresh oil back to the manufacturer’s recommended level.
Step 2: Add Fogging Oil
Make sure that the air filter and spark plugs remain out. Do not replace them yet.
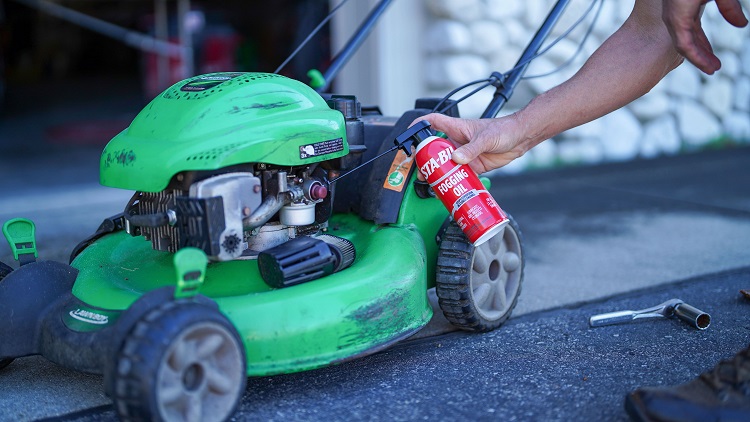
Grab a bottle of STA-BIL Fogging Oil because you are going to use this to protect the internal engine components. Spray the aerosol onto the air intake, and then use the extension tube to cover each cylinder. Spray directly onto each cylinder for three seconds each time.
This step will lubricate the cylinders to prevent damage and it will also prevent corrosion by protecting the engine from moisture.
Step 3: Replace Air Filter
Instead of using the old air filter removed in Step 1, replace it with a new one. This should be done once a year anyway, so you might as well make it a part of your winterization routine.
To do this, loosen the screws on the exterior casing, then remove it.
Pull out the filter casing along with the dirty air filter.
Wipe down the chamber to remove any dirt or debris from the area.
Replace it with the new air filter with the pleated side facing down. In most cases, you will be able to find a new air filter for under $10. Just make sure the one you get is the correct size and dimensions.
Once the new air filter is in place, put the chamber back in and tighten the screws.
Step 4: Replace Spark Plugs
Similar to the air filter, it is also a good idea to replace the old spark plugs with some new ones.
Use a spark plug socket to perform this step. This tool contains a foam insert that is specially designed to ensure that you will not damage the spark plugs while you are working with the new spark plugs.
Remove the wire to the spark plug, then use the socket to twist the plug back in, making it snug.
Reconnect the wire once the plug is back in and you are good to go.
Step 5: Remove and Replace Old Gasoline
After completing the first four steps, now is the time to see if the replaced parts are actually working. Startup your equipment and let it run until the engine stops.
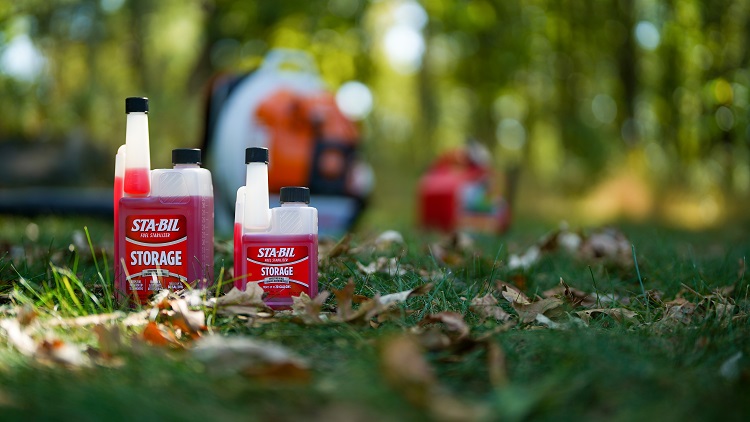
Once the old gasoline is burned up, pour STA-BIL Fuel Stabilizer into the reserve before adding the new fuel. Alternatively, you can use STA-BIL 360 Protection as it will also ensure that the new fuel you add remains fresh for the duration of the off-season.
The main difference between these two fuel additives is how long they work. STA-BIL Fuel Stabilizer will keep the gasoline fresh for up to two years while STA-BIL 360 Protection will work for up to 12 months. Either solution should work just fine for winterization purposes.
It’s important to use a fuel additive during storage because a lot of gasoline contains ethanol, which can cause corrosion when left sitting for too long. Therefore, once the additive you’ve selected is in the tank, top it off with fresh gasoline.
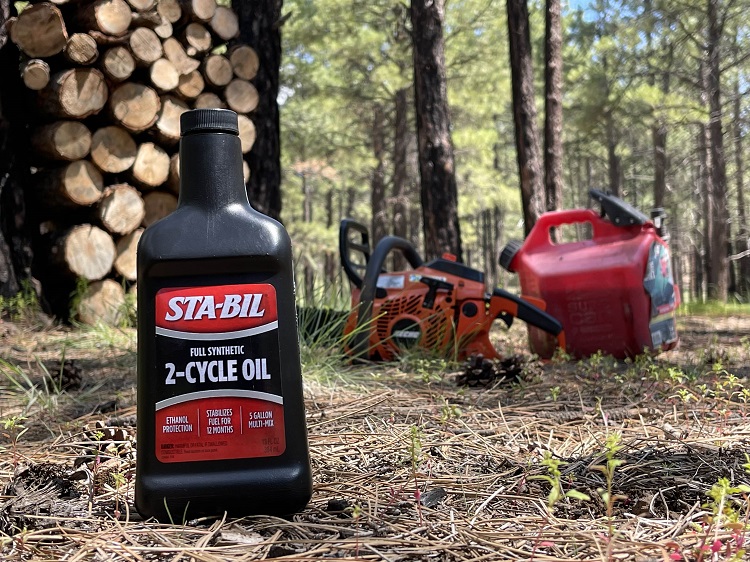
When it comes to two-cycle engines, follow these same instructions but use STA-BIL 2-Cycle Oil, as this product also contains fuel stabilization properties. More importantly, it is designed specifically for your two-cycle engine.
Once you have added your fuel stabilizer and fresh gasoline into the reserve, start the engine and allow it to run for three to four minutes. This will ensure that the gasoline and additive are mixed together, providing adequate protection for the equipment’s entire fuel system.
Step 6: Remove and Charge Batteries
In the case of electrically powered equipment, battery maintenance is of the utmost importance, especially come storage season.
Remove the rechargeable battery from the battery compartment and set it aside.
Give the battery a fresh charge and make sure that you place it in an area that won’t be impacted by extremely cold weather. Also, avoid charging it on or near a metal surface.
Once fully charged, you can place it back into the battery reserve until you are ready to use the outdoor power equipment once again.
Step 7: Clean and Protect Exteriors
At this point, all of the internal components of your outdoor power equipment are accounted for. Therefore, the last step you need to take is properly cleaning and protecting the exterior.
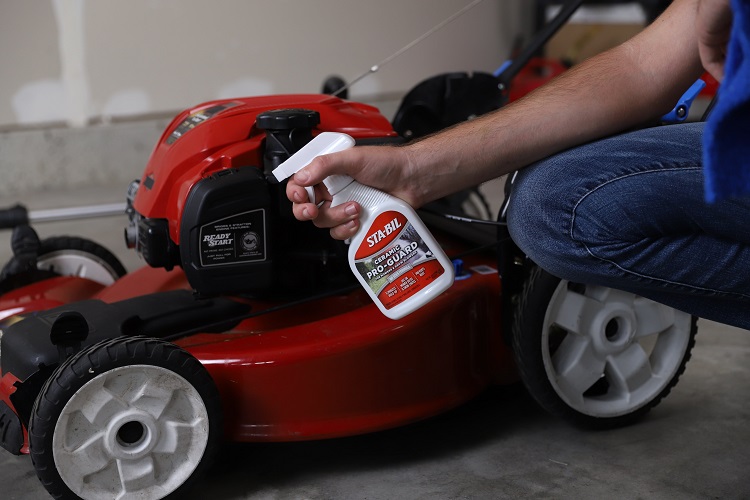
Wipe down all exterior components with a dry cloth or microfiber towel. Once you have cleared away all dust and debris, you can preserve all exterior components with a ceramic-based cleaner and protectant.
Spray STA-BIL Ceramic Pro-Guard onto all metal and plastic surfaces of your outdoor power equipment. The product both cleans and protects in one convenient step, acting as a detailing solution for your four-cycle engine.
After spraying all surface areas, buff off with a microfiber towel and enjoy the added shine it brings because it makes your equipment look brand-new again.
Bonus Step: Test Winter Equipment
Once you’ve completed all of the preceding steps, your outdoor power equipment will be winterized and ready to perform like new come next spring. In fact, this simple method will protect all of your equipment from the inside out, giving you years of quality usage.
But we aren’t done quite yet.
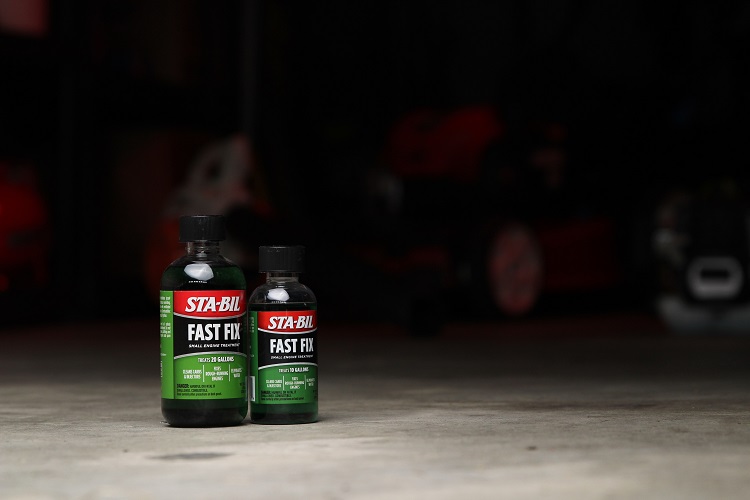 After you’ve winterized all your equipment that shines in the summertime, it only makes sense to test your generator and snowblower before the first big snowfall of winter. Make sure you have fresh gas in the tank, prime it, and try starting it. If it has any issues turning it over, STA-BIL Fast Fix will start it right up.
And that’s it!
Consider yourself the world’s most responsible outdoor power equipment owner because you have taken every possible precaution to preserve the things you care about for the off-season.


My question is related to the winter storage of 2 & 4 cycle engines, is one procedure better than the other?
One person says to top off the fuel tank, along with the obvious other details of adding a fuel stabilizer, fogging, change out the spark plug, oil, air filter, and do the basic preventative maintenance all around.
The next person will tell you to run engine tank completely out of fuel after adding a mixture of fuel stabilizer and some type of lubricating oil, then change the oil, spark plug, oil, and air filter, and do the basic preventative maintenance.
Hello, we recommend keeping your fuel tank full and topping off with fuel stabilizer. Please email us at producttechsupport@goldeagle.com if you have any questions about this. Thank you.